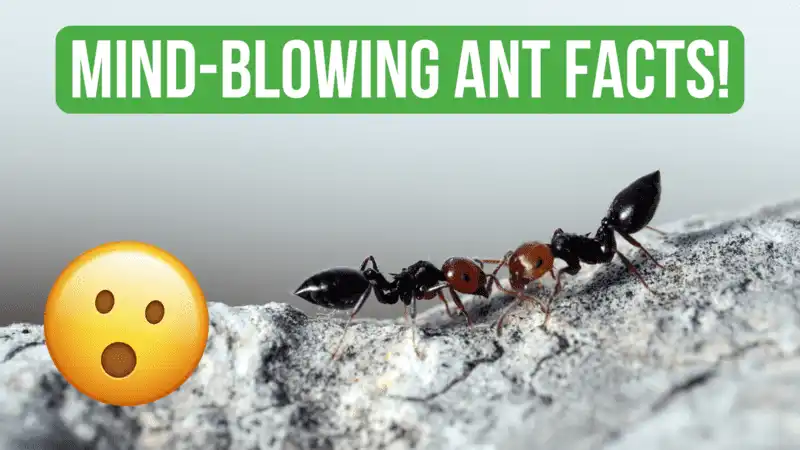
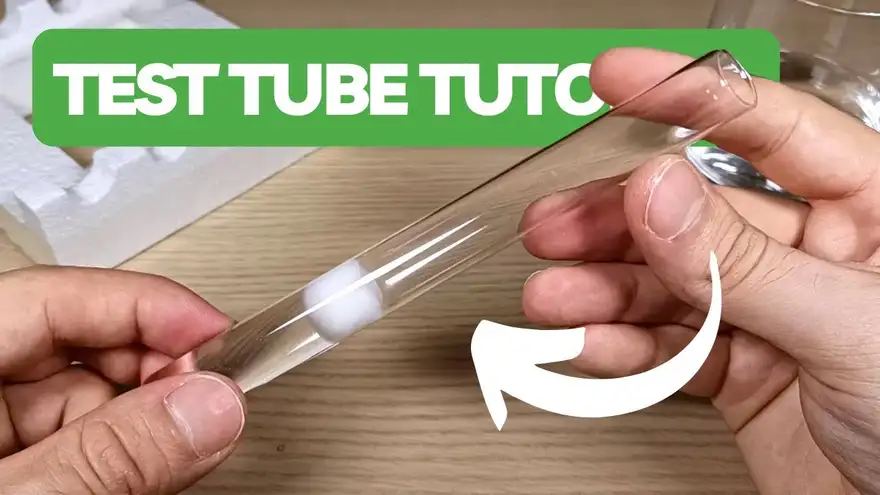
How To Make a Test Tube Setup - Ant Keeping Basics
Hi guys! I hope you’re doing well!
Today I want to show you how to prepare a test tube setup for your queen ants, the first step in every ant-keeping journey!
What is a Test Tube Setup?
The test tube setup is probably the easiest and most effective way to create a comfortable space for a newly mated queen. This setup creates an environment very similar to the one they experience in nature.
In the wild, after mating with a male, the queen starts searching for a small, quiet space, probably in the soil, where she can start to lay eggs. This tiny space is called the “claustral chamber”.
With the test tube setup, we are going to recreate the same conditions as a claustral chamber, with the right temperature and humidity.
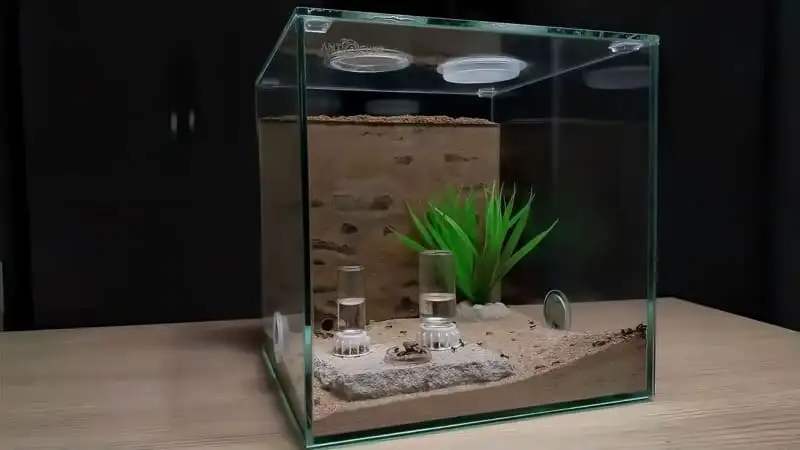
This particular setup will also give you the chance to see inside the chamber, since it is made of glass or plastic, and it will also hold a water reservoir.

If you are an absolute beginner in the magical world of ant keeping, I suggest checking out this other guide!. In this guide, I list 5 of the most common mistakes that beginner ant keepers make when they first start keeping ants as pets!
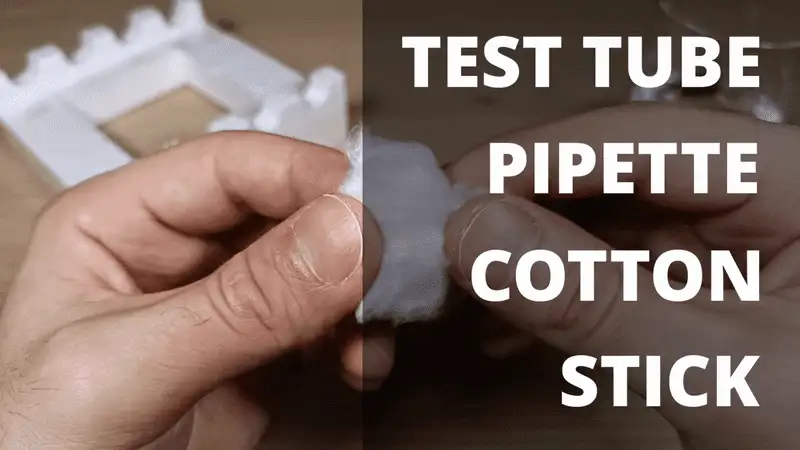
What You Need
To prepare this setup, you will need a test tube, cotton wool, and a long stick of some kind.
Test tubes come in a variety of sizes. The main factor for deciding which size is right for you is the size of the queen you want to place inside. For most ant species, a standard-size test tube will do the trick.
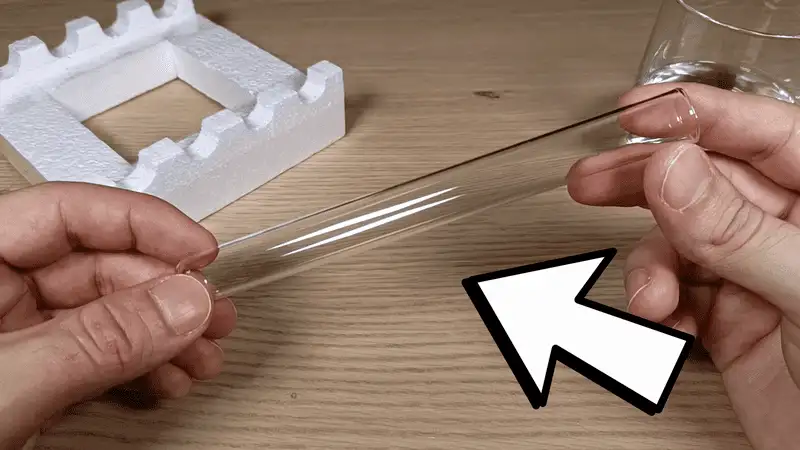
Don’t worry if you don’t have the exact recommended size for your species; the queen is very adaptable and will surely lay eggs even in a slightly smaller or larger chamber.
Preparing The Test Tube
Filling The Test Tube
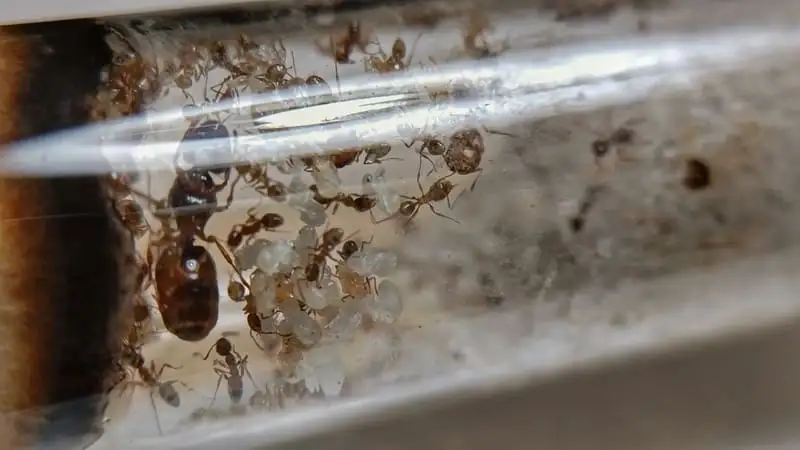
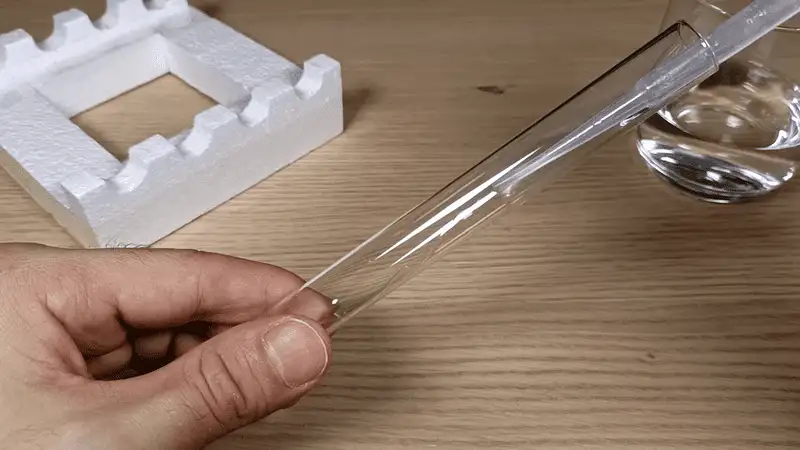
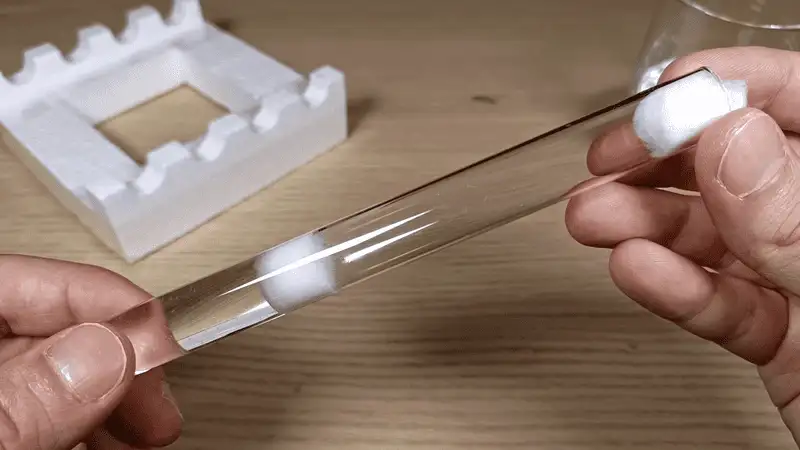
When you have your test tube, the first thing you need to do is fill it about halfway with clean, cold water. You can do this directly from a bottle, from the faucet, or by using a pipette, just like I am doing.
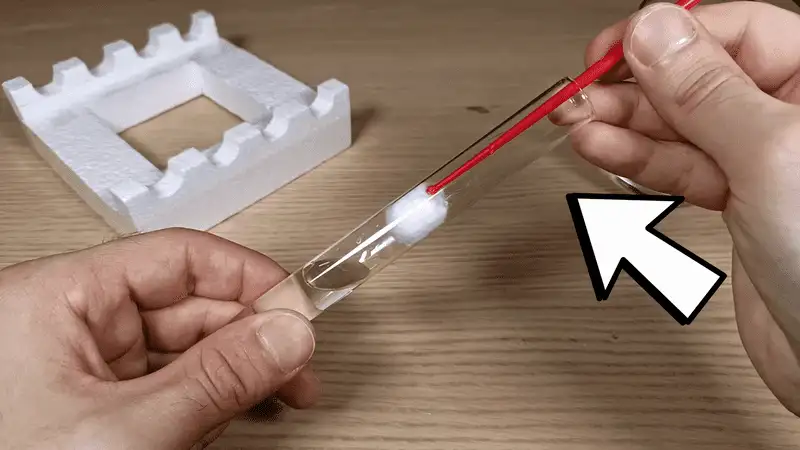
Inserting The Cotton
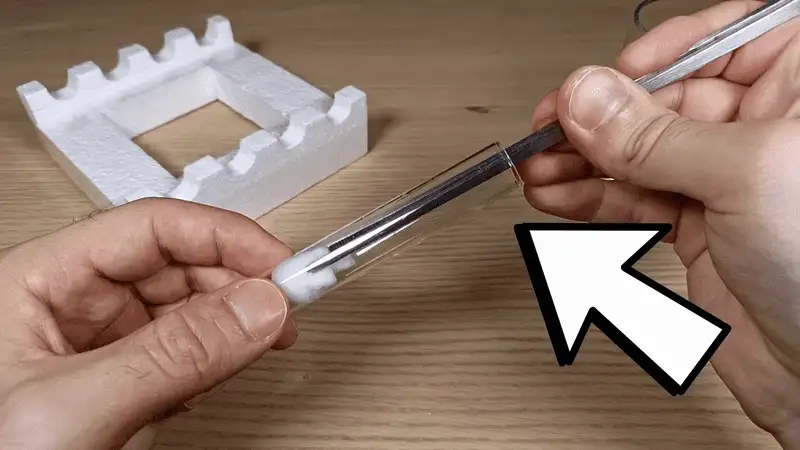
Once you have the water in the test tube, you can insert a small piece of cotton. To push the cotton ball all the way to the water, you can use a wooden skewer or a plastic tool, like the one I am using.
This way, the cotton will prevent the water from drowning your queen, while supplying the chamber with the right amount of moisture. The queen will also be able to drink from the cotton without any problem, eliminating the need for an external water source.
One thing I’ve learned from experience is that if you place the cotton ball into the test tube slowly, you will probably end up with some air bubbles between the water and the cotton.
To avoid this issue, simply insert the cotton quickly, preventing the bubbles from forming.
If you like this simple but effective nest type, I suggest checking out this product review!. This is an extremely cool ant nest based on the most trusted ant-keeping setup of all time: the test tube setup!
Closing The Test Tube
Once the test tube setup is complete, gently place your queen in the tube and seal it with another ball of cotton.
Be sure to wash your hands thoroughly before touching the water or cotton. We don’t want bacteria or mold to start infesting the nest!
If you are wondering how the ants are going to breathe, don't worry, there will be sufficient airflow through the cotton for the ants to survive for a long time!
Recycling The Test Tube
In the event you mess up or need to retrieve the cotton plug inside the test tube, you can take it out by using a pair of long tweezers, the kind commonly used in fish tank setups.
Simply insert it into the test tube and pull it out, extracting the cotton ball.
Covering The Test Tube
Now that the queen is comfortable and safe, you can make the test tube feel even more like an actual claustral chamber by wrapping it with some type of dark paper. I like to use tinfoil, which does the job quickly!
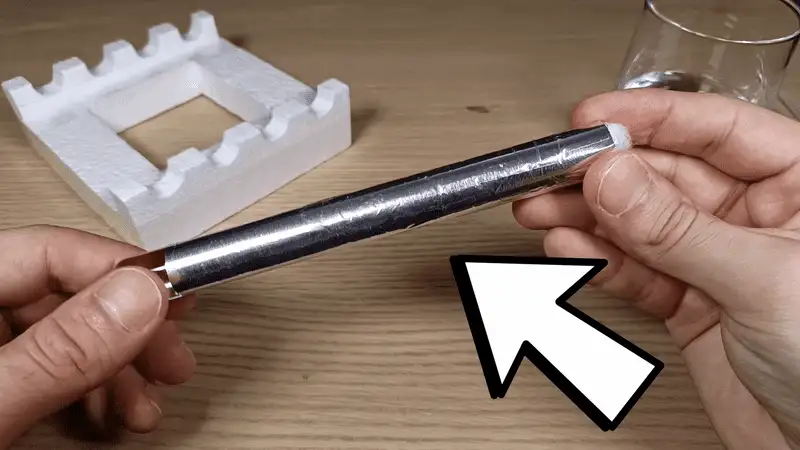
Here it is! It looks terrific in grey!
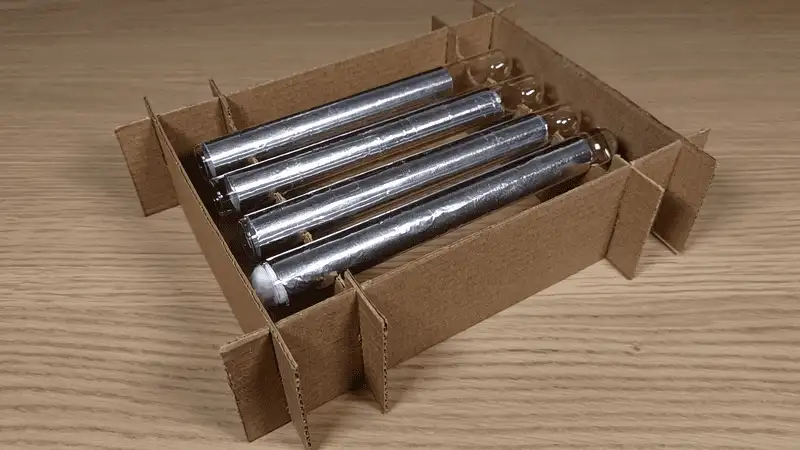
Making a Test Tube Holder
One big problem with having your queen or founding colony inside a test tube setup is that it's extremely difficult to keep it still on a flat surface!
This might seem like a minor issue, but trust me: when you start having dozens of test tubes all over your room, this can quickly become a real nightmare! You could lose an entire colony just because you accidentally touched the test tube with your elbow!
If you want, you can solve this problem by creating a test tube holder made of cardboard!
In this other article, I created a dedicated step-by-step tutorial on how to make this super cool type of test tube holder!
This holder is extremely easy to build and can make your ant-keeping journey ten times easier! With this system, you can also better organize your ant colonies, dividing them by species, number of workers, or climate requirements!
I hope you have found this guide helpful!
If you’re planning to buy some ant nests, I suggest checking out this product review!. It’s a really cool ant nest made by Antstore, a great ant-keeping company!
FAQs
You will need a test tube, cotton wool, and a long stick to help with inserting the cotton.
Fill the test tube about halfway with clean, cold water, and then insert a small piece of cotton using a tool to push it to the water.
Yes, most ant species can adapt to slightly smaller or larger chambers; a standard-size test tube is usually sufficient.
The cotton ball will act as a barrier, allowing moisture while preventing drowning; ensure it's positioned properly within the test tube.
You can create a test tube holder out of cardboard to keep it stable and organized, preventing accidental tipping.

Author