How To Make A Test Tube Holder
Hi guys! I hope you’re doing well!
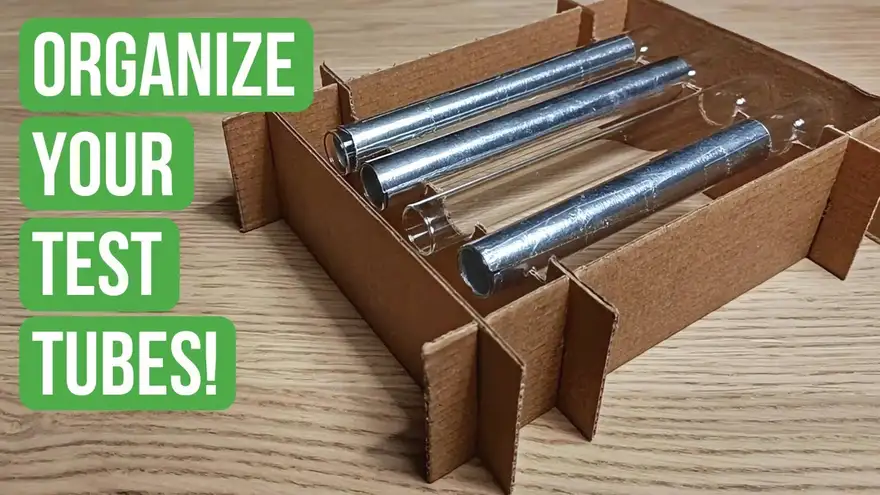
Today we’re going to build an extremely practical test tube holder, the perfect way to organize your test tube setups!
Let’s see how to make it!
Download
Introduction
How many times have you tried to keep your test tube setups on a shelf or a desk and constantly worried that they might roll and fall off? If that’s you, you have found the right guide!
Today we’re going to solve this problem by creating a test tube holder made of cardboard! This holder is extremely easy to build and can make your ant-keeping journey 10 times easier!
With this system, you can also better organize your ant colonies, dividing them by species, number of workers, or maybe climate requirements!
If you're new to this fantastic hobby called ant keeping and are not completely sure how to make a test tube setup, don't worry! In this guide, I explain in detail everything you need to know to make the perfect starter setup for your beloved ant colony!
What You Need
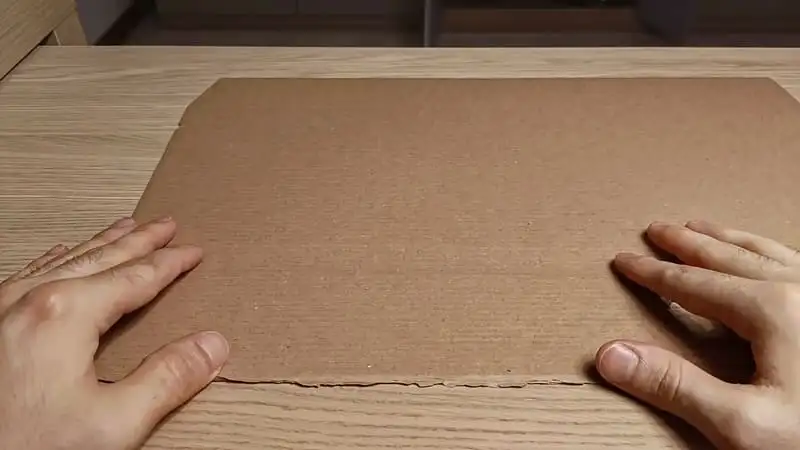
The first thing that we need to build this test tube holder is, as you can imagine, a piece of cardboard. I got this from the packaging of a very famous Swedish furniture company.
For the measurements, I’ve made this quick sketch on a piece of paper. You can find the digital version available for download at the top of this page!

Drawing The Holder
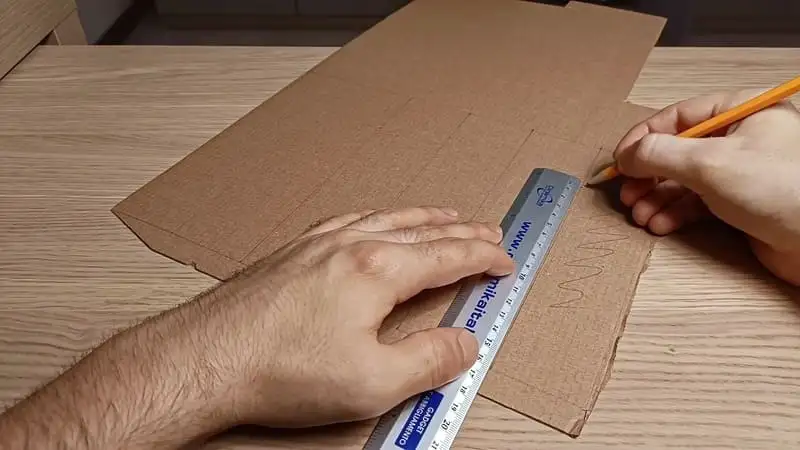
First, we’re going to make the two lateral panels, the ones that will hold together all the other pieces.
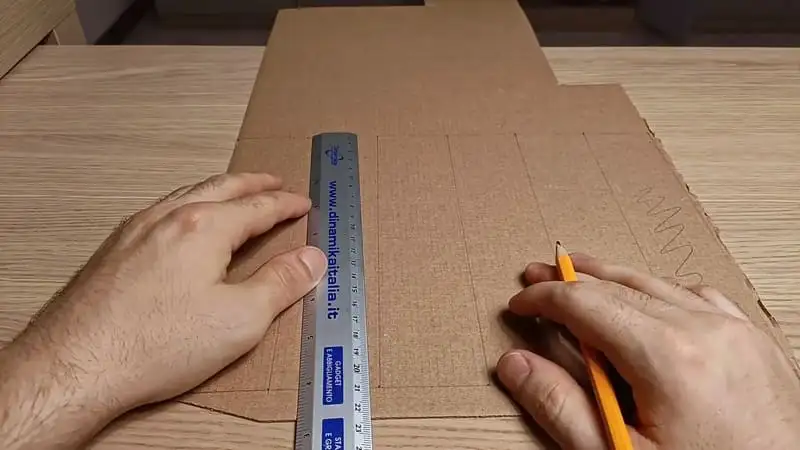
Now, just like before, we can make the front and bottom panels. In this step, we can also mark the outer perimeter of the two inside panels, the ones that will keep the test tubes in place.
Perfect!

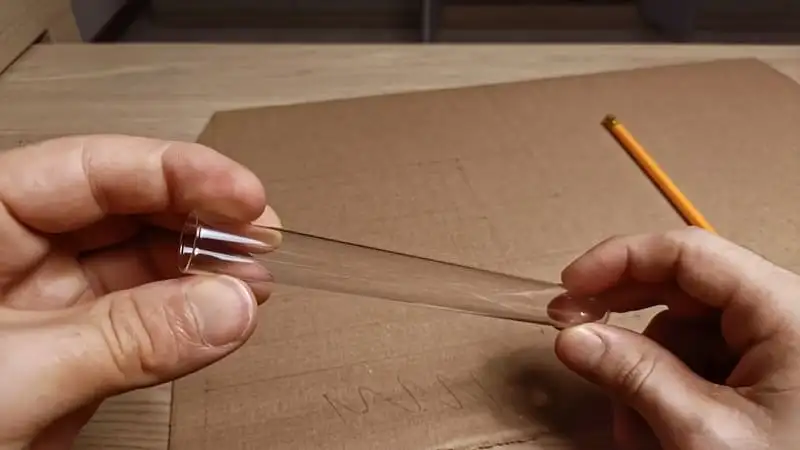
Now it’s time to create the structure of the two inside panels. To do so, we have to grab one of the test tubes that we’re planning to put inside the holder. If you don't know where to get these types of glass test tubes, you can check out this other guide I made!
In this tutorial, I explain in detail how you can start to grow your own ant colony without breaking the bank! In this article, you will find all the information you need to start ant keeping the right way: the history of this amazing hobby, where to find the test tubes and the other materials, and much more! All of this for just $1!
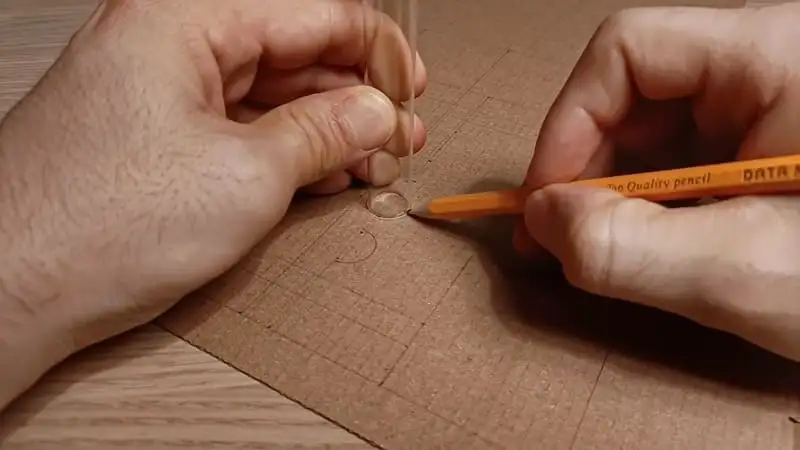
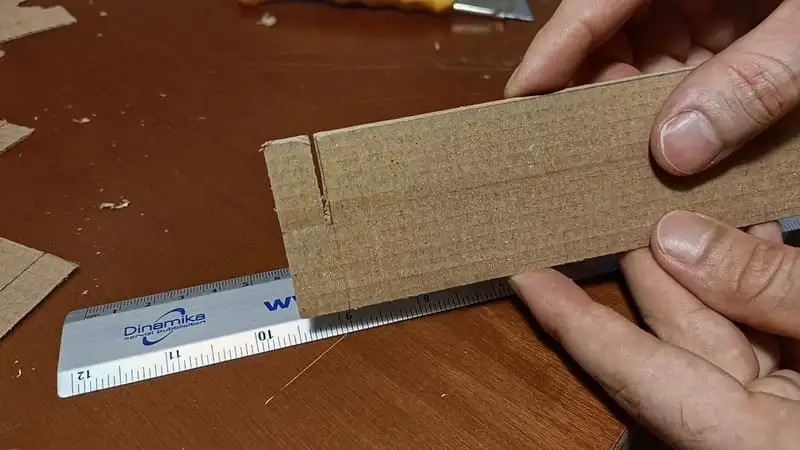
Using a normal ruler, we have to measure the outer diameter of the test tube. With this measurement, we can decide how many test tubes we’re going to put inside the holder and the distance between them.
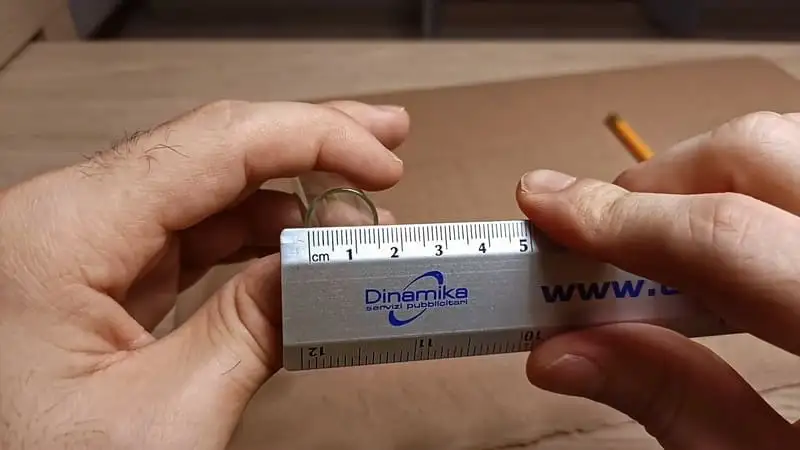
Mine measures 15 mm, so I can put 4 test tubes inside the holder.
Let’s mark where the test tubes are going to be!
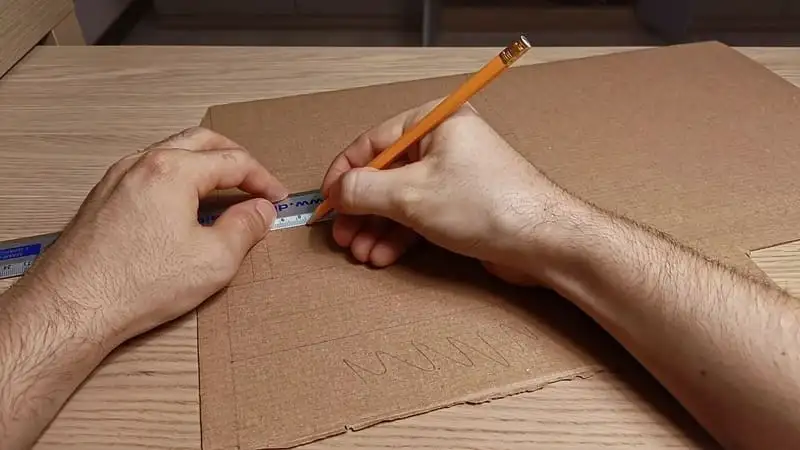
Now we can simply use the test tube itself to mark the shape that we’re going to cut out later.
Cutting The Cardboard
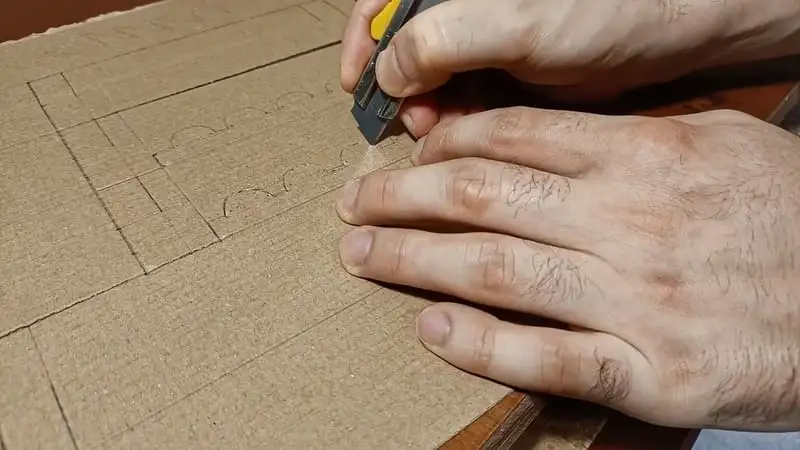
After retracing the marks we’ve made before, we can then start cutting.
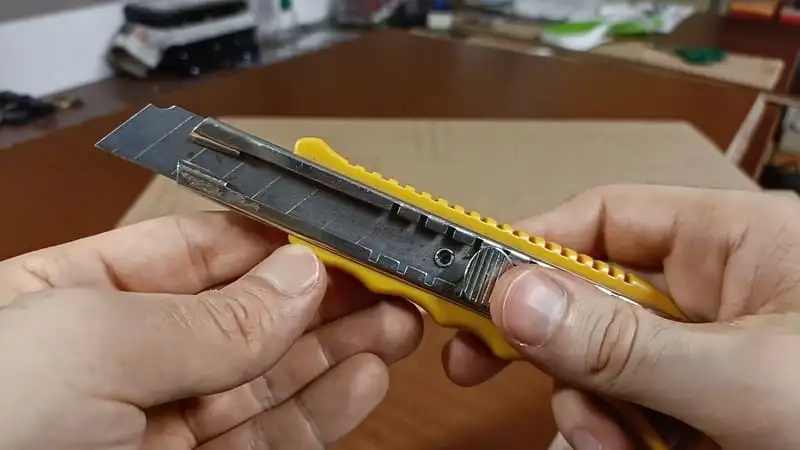
For this job, I would suggest you use a paper cutter, which will make the process a lot easier than if we were to use normal scissors.
To cut the curved part of the holder, you can make lots of tiny holes in the cardboard, in order to weaken the material and make it easier to cut the piece!
Once we’ve made all the needed cuts, we can then start separating the pieces and adjusting the little details.
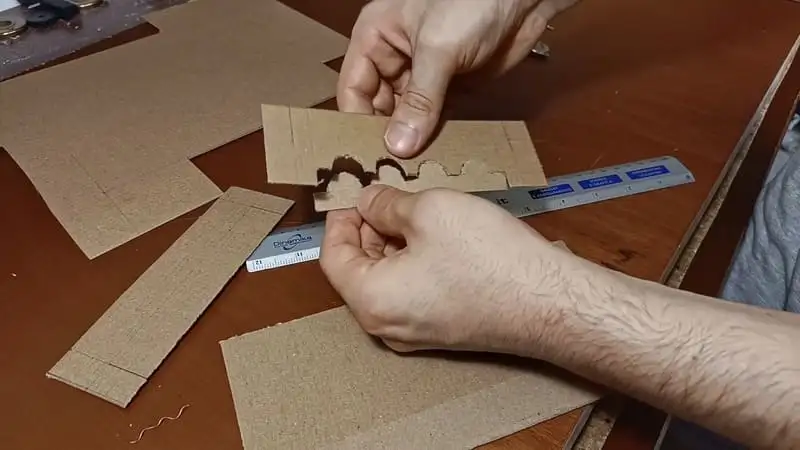
The last step is to cut out the thin slices that we’re going to need to keep the pieces together.
Now our test tube holder is complete! We just need to put the pieces together and the job is done! If you're reading this guide, there's a very high chance that you just caught one or a bunch of queen ants and that you're ready to put them away in a safe and isolated place to start their own ant empire!
If that's the case, I would suggest you check out this very useful guide on what to do after you catch a queen ant! Should I feed her? When is she going to lay her first batch of eggs? What species of ant is this? You can find the answers to these important questions and much more in the guide!
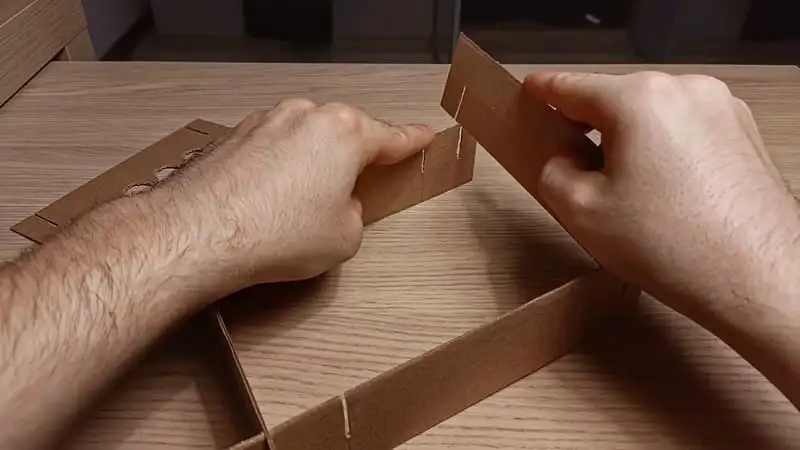
Assembling The Holder
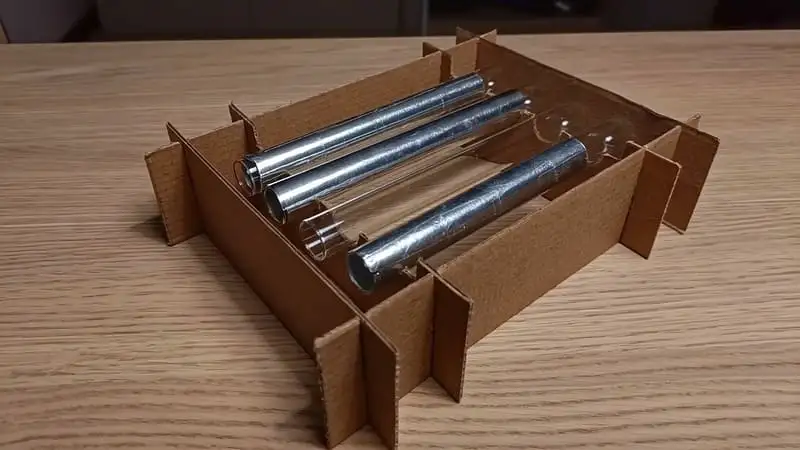
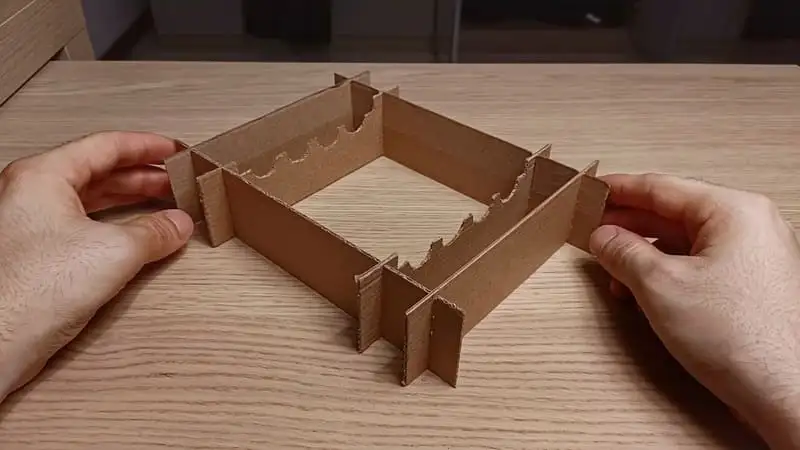
When we have all the pieces, it’s finally time to assemble the holder!
Fantastic! I think it looks awesome! And you? What do you think?
Let’s add the test tubes!
That’s it! Now you have an amazing way to organize and preserve your founding queens and young ant colonies!
If you want, you can also add a simple lid.
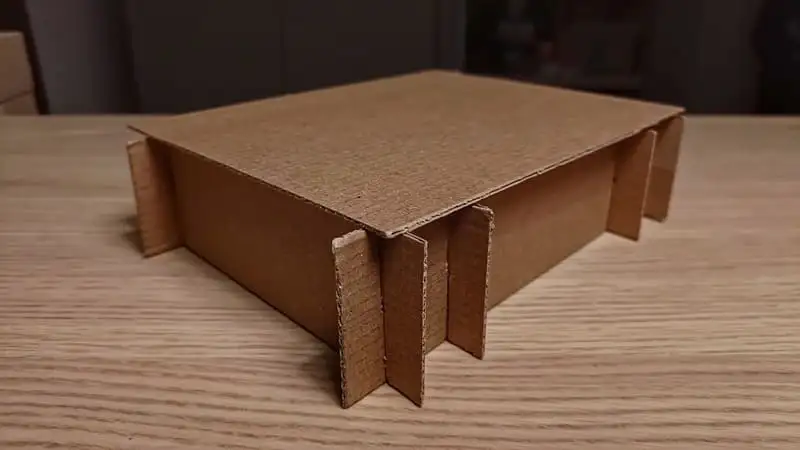
Now the ants can rest peacefully inside the test tubes, enjoying the total darkness provided by the holder!
I hope you have found this tutorial helpful!
If you liked this tutorial and love making DIY projects, I would strongly suggest you check out this other tutorial! In this one, you will learn how to build a Ytong nest all by yourself!
FAQs
You'll need a piece of cardboard and possibly a paper cutter for making precise cuts.
You can download the PDF file with the detailed project from the link provided at the top of the tutorial.
Yes, a test tube holder provides a safe and organized way to keep and observe your ant colonies.
Don't worry! There's a detailed guide available that explains how to create the perfect test tube setup for your ant colony.
Absolutely! You can customize the holder to fit more test tubes or adapt it to your specific needs.

Author