How To Make A Paper Ant - Origami Tutorial

Hi guys! I hope you’re doing well!
Today we’re going to learn how to make one of these extremely cute little paper ants, using materials you probably already have in your house!
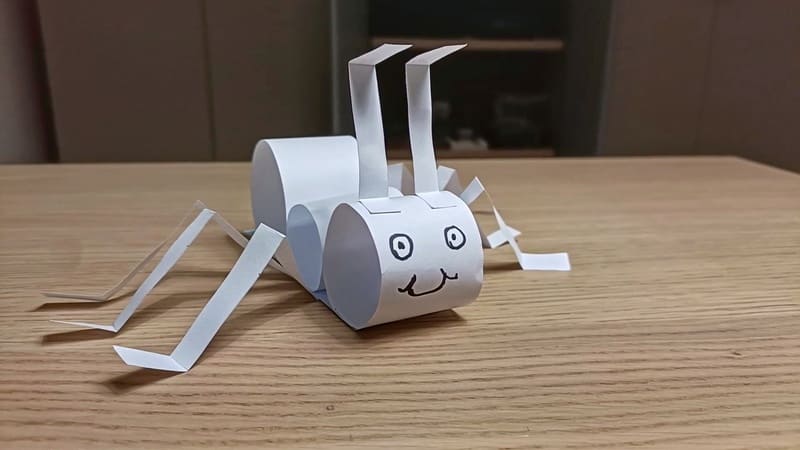
Let’s see how to make it!
Download
What You Need
Let’s start by listing all the materials that we need for this project. As you can imagine, the most important thing we need to make our little paper friend is a sheet of some type of paper.
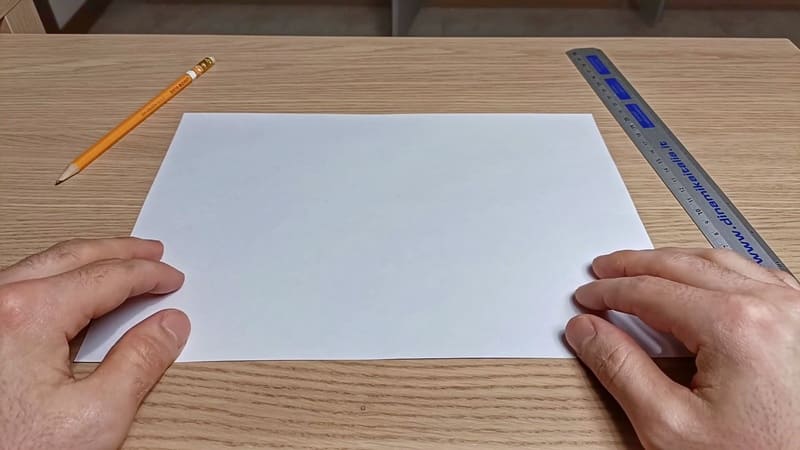
Don’t worry, for this project we don’t need any rare type of artistic cardboard! The standard printer paper that we normally use in our day-to-day life should do the job extremely well!
Apart from the paper, we also need some scissors for cutting the sheet, some stick glue for attaching the various components, and a marker to draw the eyes and mouth of the ant.
Drawing The Pieces
Once we have all these tools, we can start creating our little friend!
The first part that we’re going to build is the main section of the ant's body. For this part, we have to make 3 little circles.
The 3 circles will have different sizes to replicate the anatomical characteristics of an ant's body. The abdomen, which is the bottom section of the ant's body, will be the biggest circle, followed by the head and the thorax.
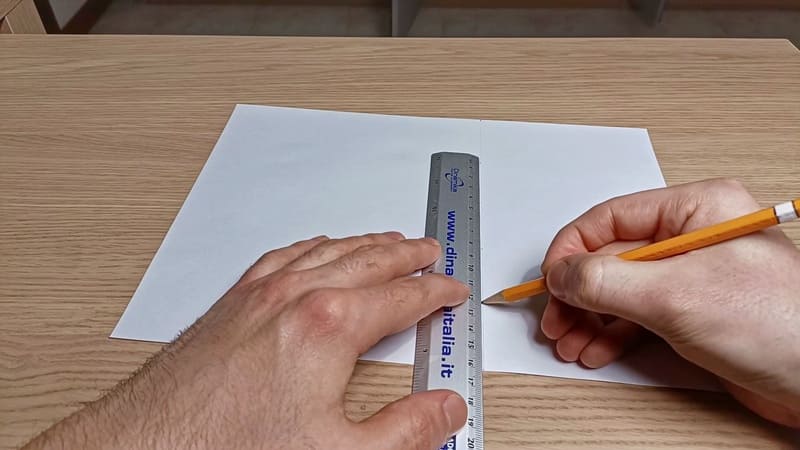
As you can see, I’m already drawing every part of the ant on the sheet of paper, including the body, the antennae, and the legs. Don’t worry, you don’t have to do any of this! I will put a link to a PDF file with all the measurements at the beginning of this guide! Don’t forget to check it out!
Cutting The Pieces
Once we have all the needed measurements on the sheet, we can start cutting!
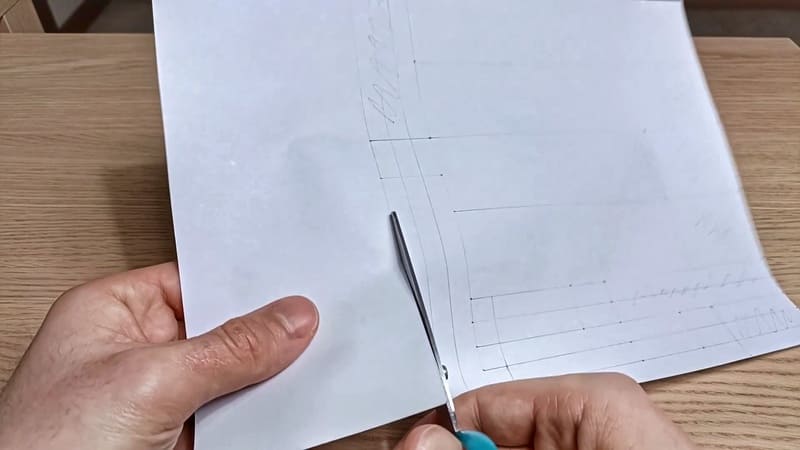
For cutting the paper, you can use normal scissors, following the indications drawn on the paper. Just make sure not to cut yourself in the process!
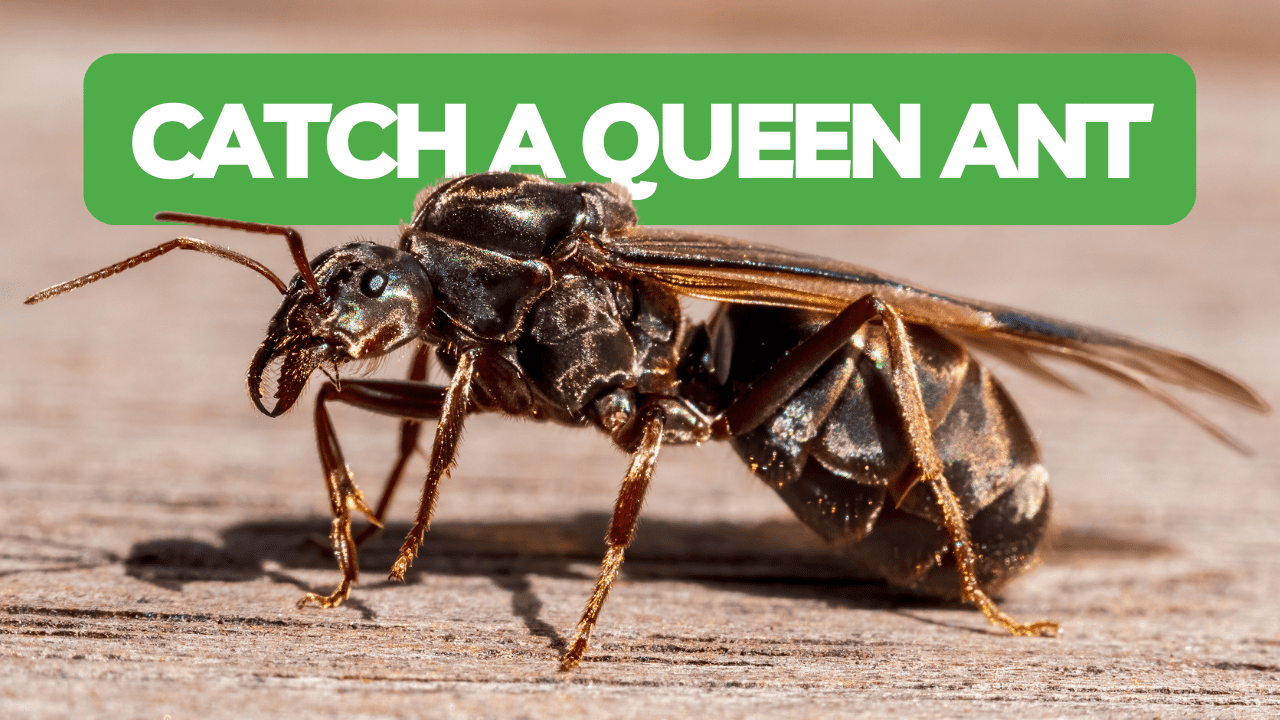
By the way... have you ever thought about starting your own ant colony? If this uncommon idea intrigues you, I would definitely suggest you check out this article! In this short but complete guide, I will teach you how to catch your first queen ant, the starting point of every ant colony!
Folding The Pieces
Once we have all the pieces ready, we can start by folding the legs and the antennae of the ant! It’s extremely easy; you just have to follow the signs on the paper, and the job is done!
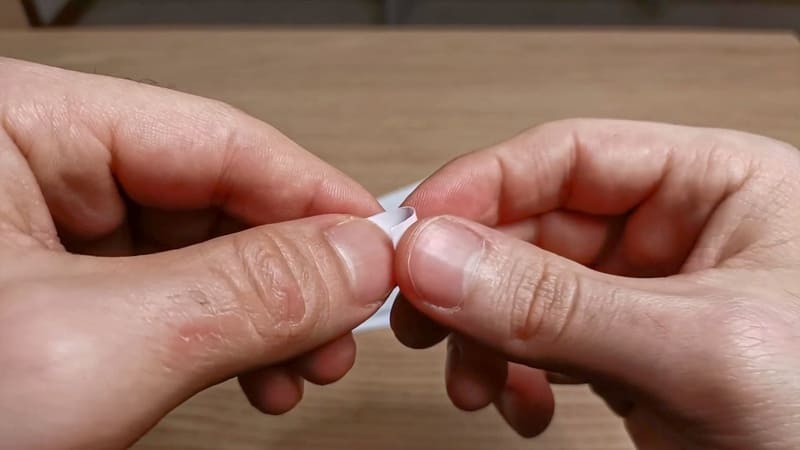
Here’s one antenna as an example!
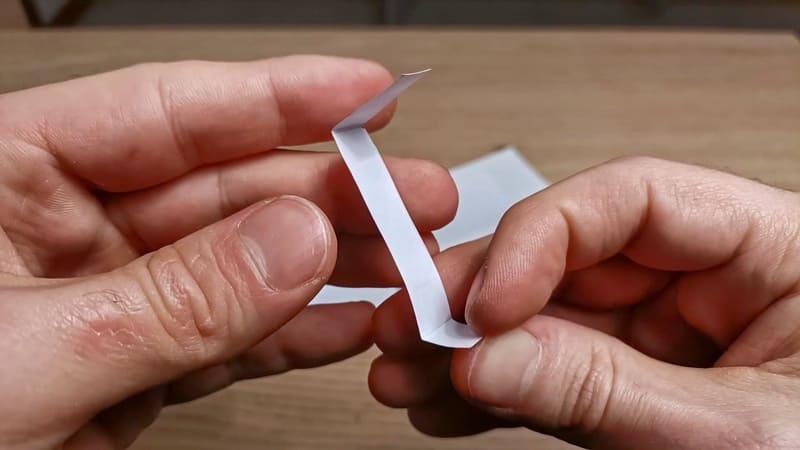
Now let’s fold the legs!
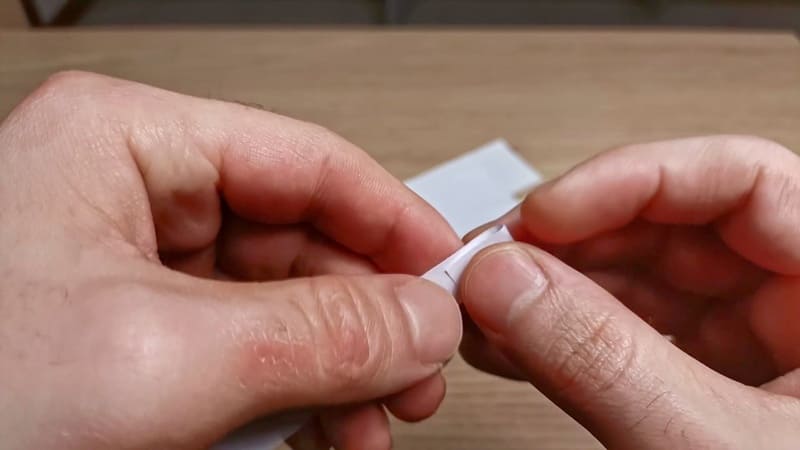
Here it is! To complete the leg, fold the center part of the piece in half, creating the joint.
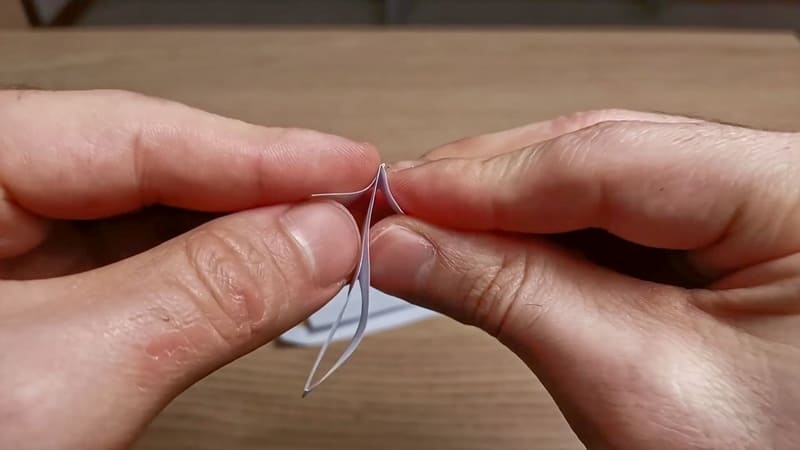
Perfect!
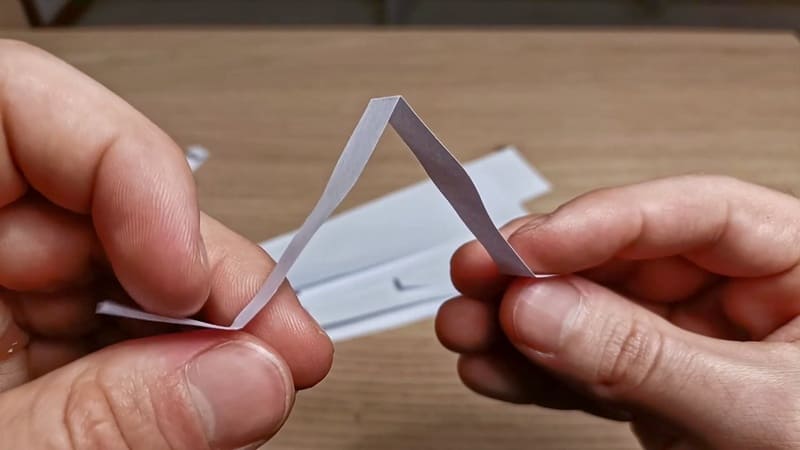
Fantastic! Now we have the folded antennae, the folded legs, and the other pieces ready to be turned into the ant's body!
Making The Body
To glue the various pieces together, we can use very basic stick glue. You can easily find this type of glue in the stationery section of almost every store.
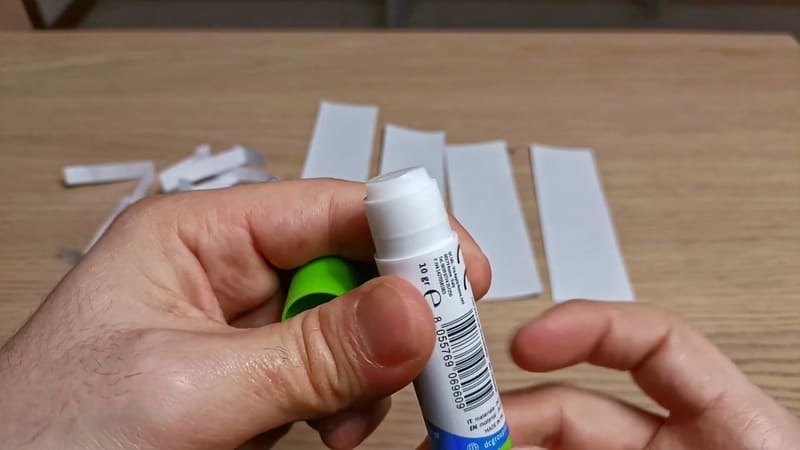
Now it’s finally time to create the sections of the body using the slices we’ve cut before. To do so, we need to apply the glue to only one edge of the slice and then attach it to the other edge. Easier said than done!
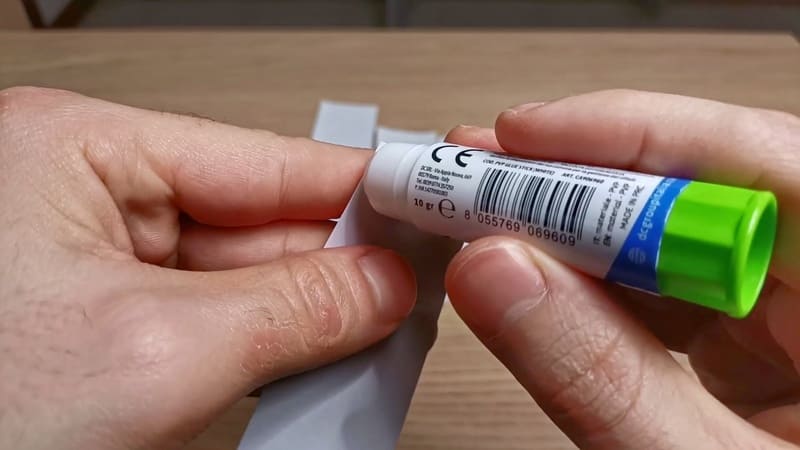
Now let's fold it to create the little ring.
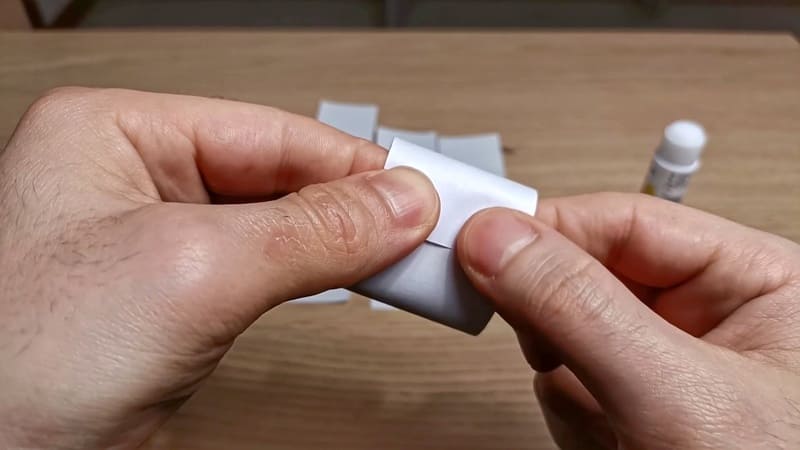
Here's the result!
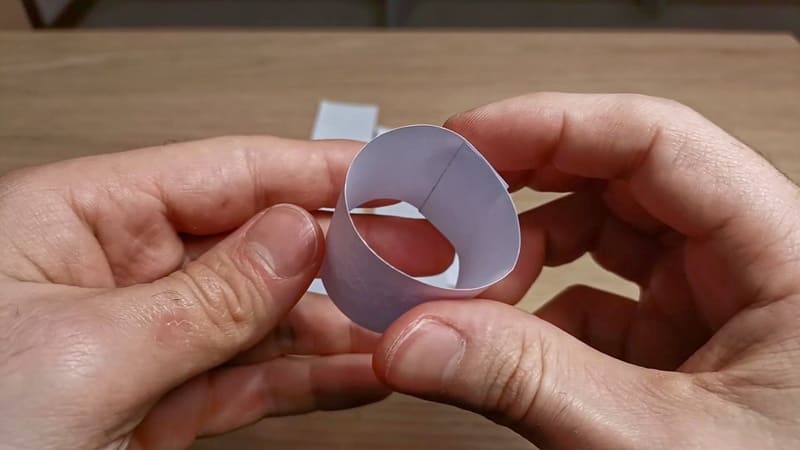
Perfect! Now let’s repeat the process for the other two slices!
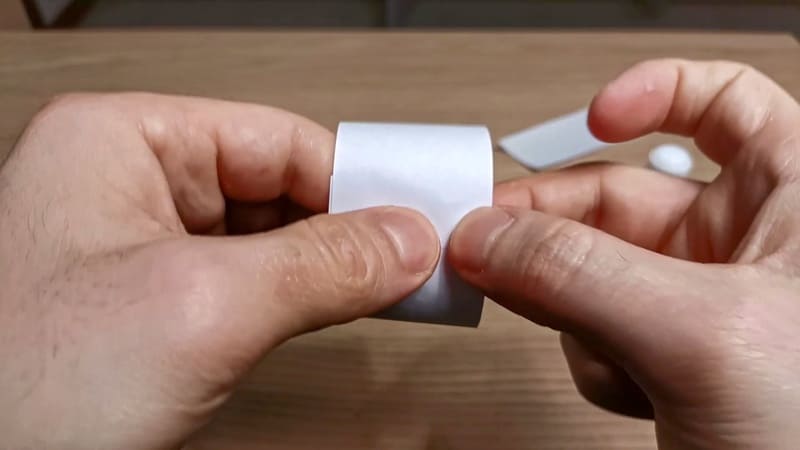
Fantastic! Now we have the main components of the body of our little paper ant!
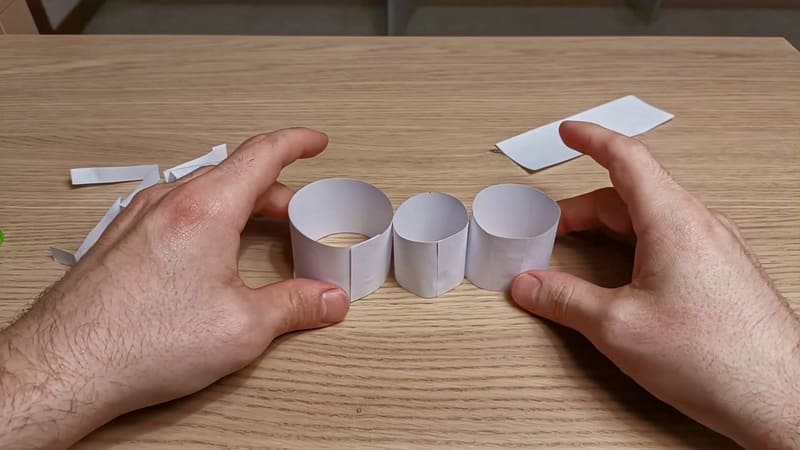
The next step is to attach all 3 circles, using another piece of paper as the base, just like this.
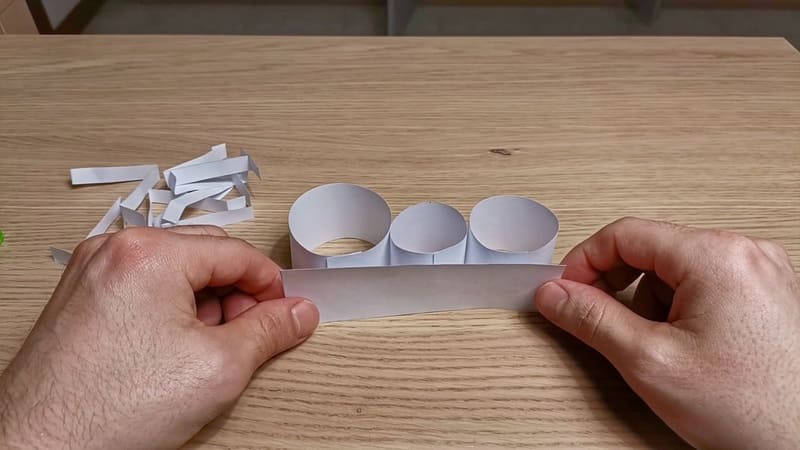
Let’s start with the head! Press down the glue to make the pieces stick well together!
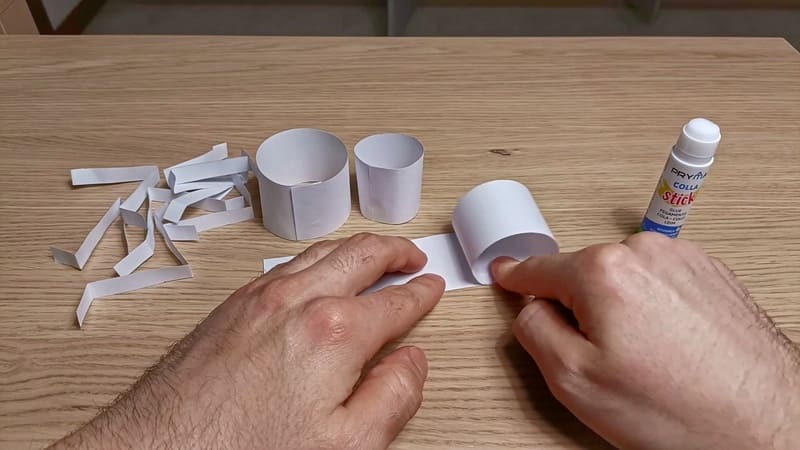
Now the thorax!
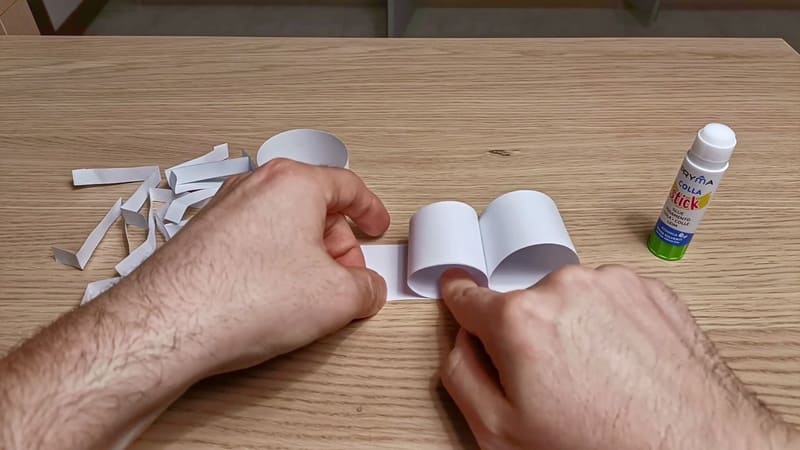
Now, let’s do the same thing with the abdomen!
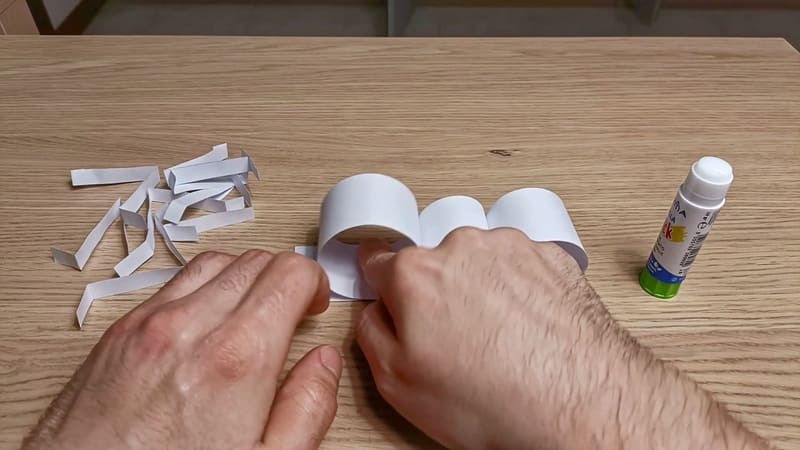
Fantastic! It’s already starting to look like an ant! Awesome!
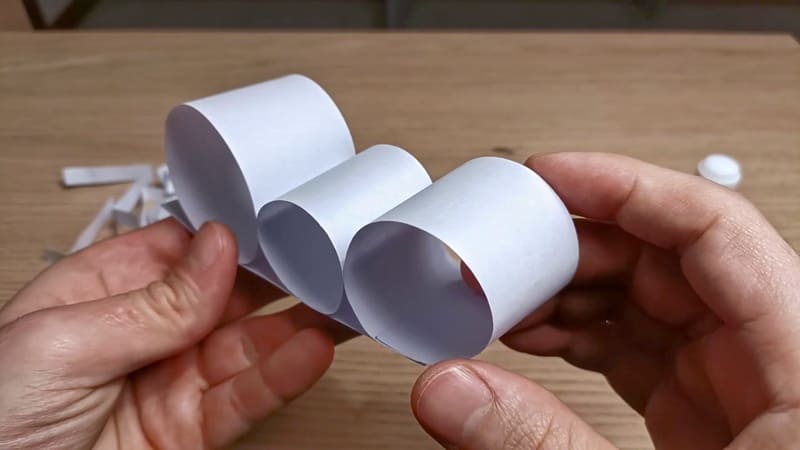
Attaching The Antennae
Now let’s glue the antennae to the head of our little friend! Make sure not to damage the head while attaching them!
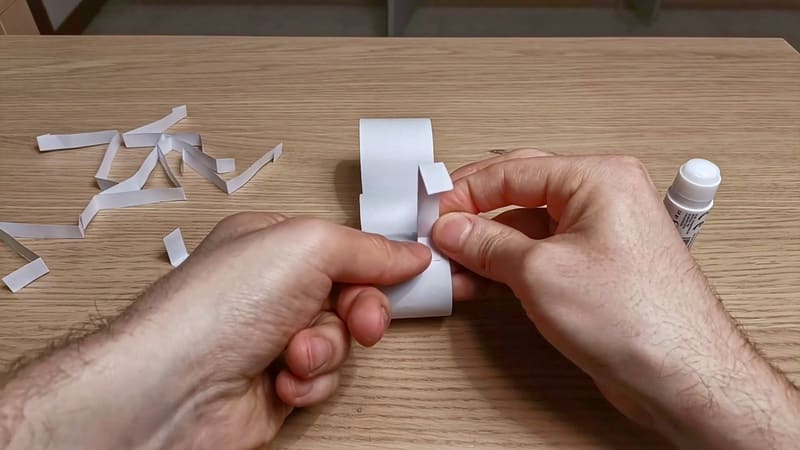
Amazing! It’s starting to come to life!
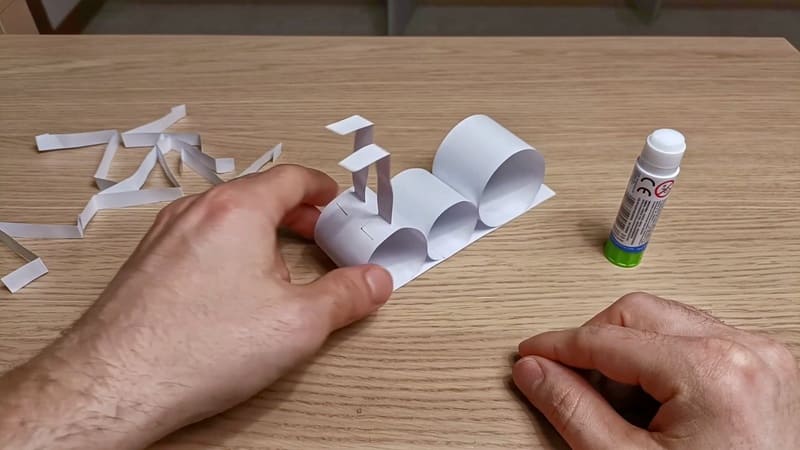
Our little project is starting to look like a proper ant! If you, just like me, love these tiny smart animals, you will definitely love this article too! There you will find a list of 10 mind-blowing facts about ants! You will be shocked at how cool these tiny animals are!
Attaching The Legs
Now it’s time to give our little friend some legs! To do that, simply glue them to the bottom of the base, making them stick out from the side! Just like this!
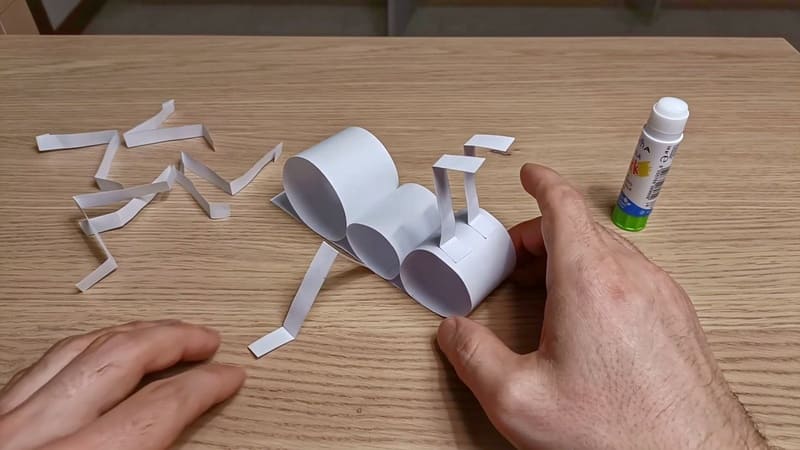
Now repeat the process for each leg!
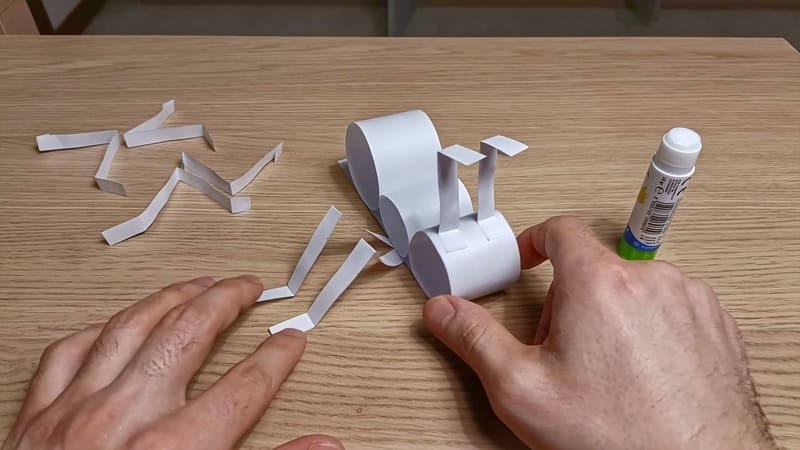
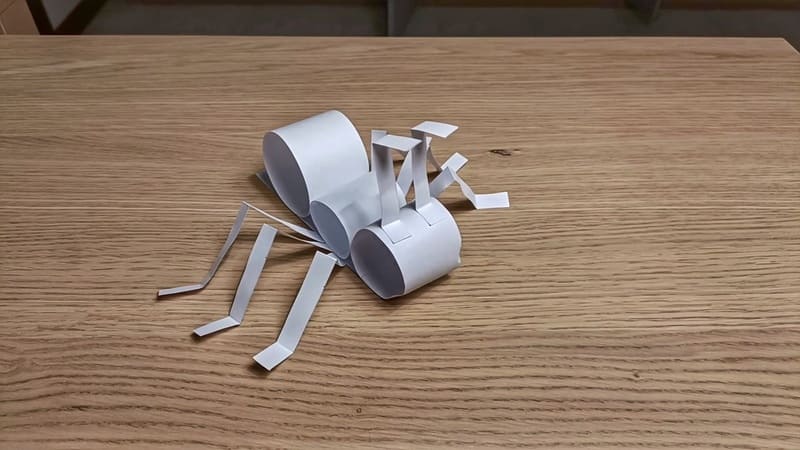
Perfect, we now have all 6 legs attached to the body! Fantastic! Our project is almost complete!
Drawing The Face
The final step to complete our little friend is to give it a face! To draw the eyes and the mouth, you can simply use a normal marker.
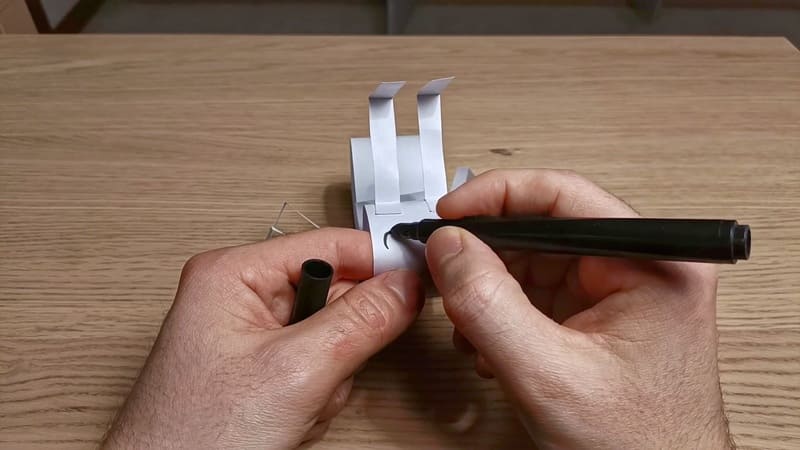
When doing so, make sure not to damage the head! You can put a finger behind the paper, using it as a stable surface to draw on!
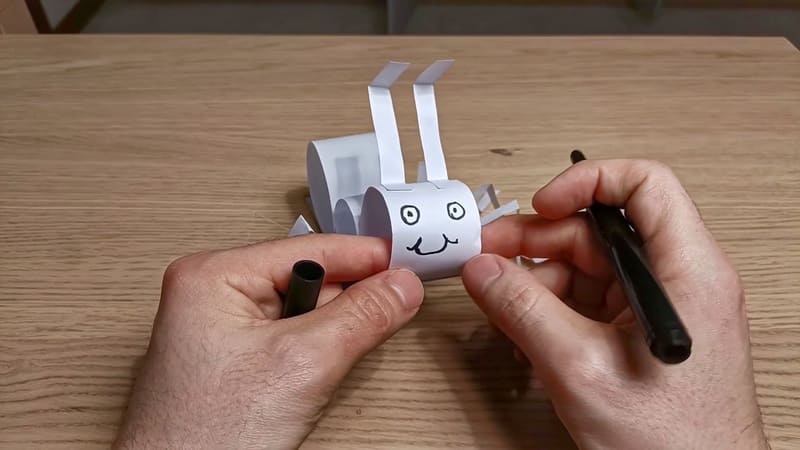
Yeah, I know! I’m not the best drawer! 😅
The Final Result
Fantastic! Our little ant is finally alive!
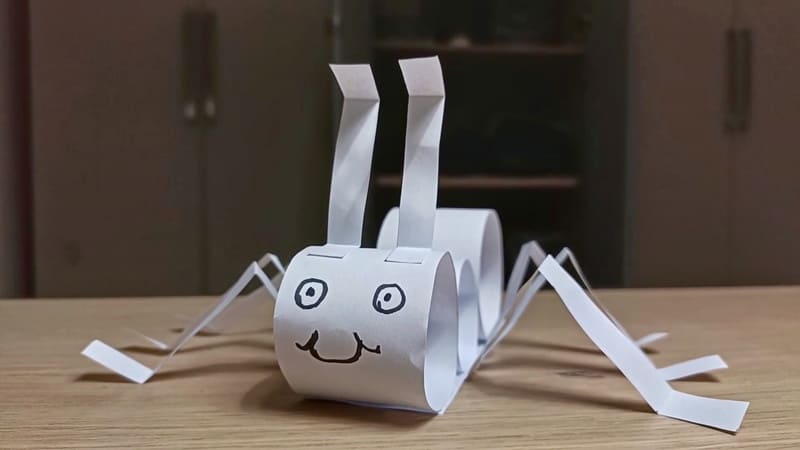
I think it looks amazing! And you? What do you think? Do you like it?
Now you can place it on your shelf or on your desk! It will keep you company during your day-to-day life!
I really hope you liked this guide!
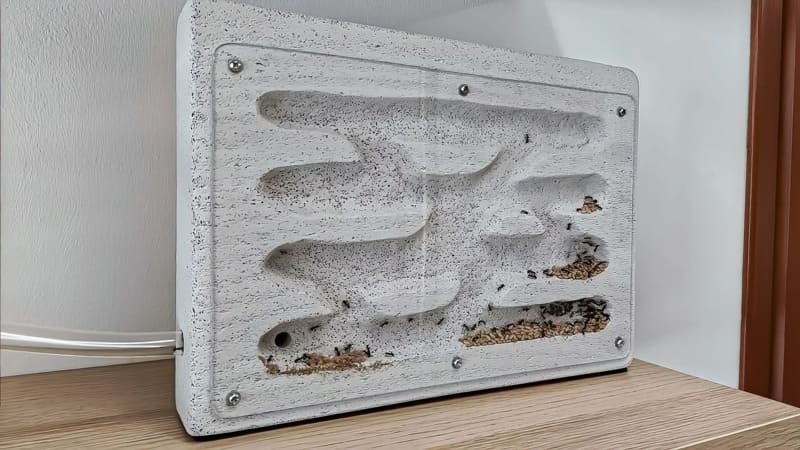
If you like this type of ant-keeping guide and also love to build things on your own, I would strongly suggest you check out this other guide! In this one, I explain how to make a D.I.Y. Ytong nest starting from a single block!
FAQs
You need a sheet of standard printer paper, scissors, stick glue, and a marker.
No, standard printer paper works perfectly for making the paper ant.
Yes, you can download a PDF file with all the measurements needed to create the paper ant.
You can attach them using stick glue; make sure they're glued securely to the body.
You can check out other articles linked in the tutorial for more information about ants.
