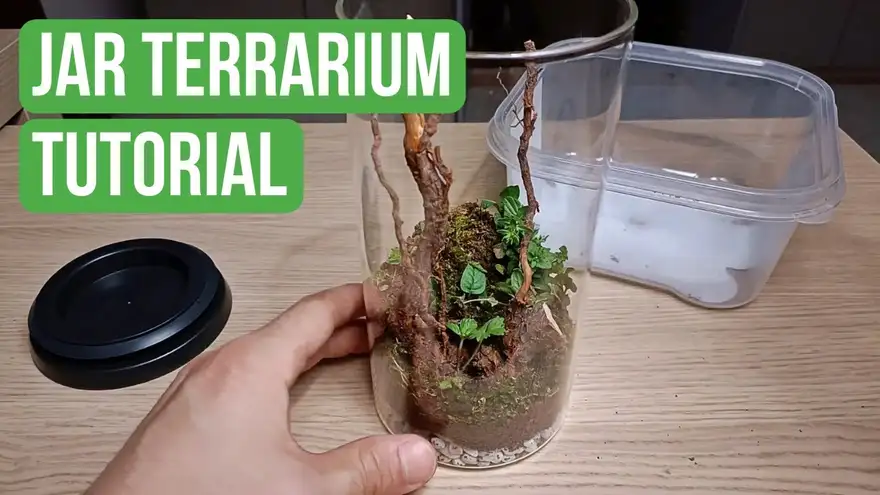
How To Make a Jar Terrarium
Hi guys! I hope you’re doing well!
Today we’re going to learn how to build a very simple jar terrarium, a really cool decoration for your room!
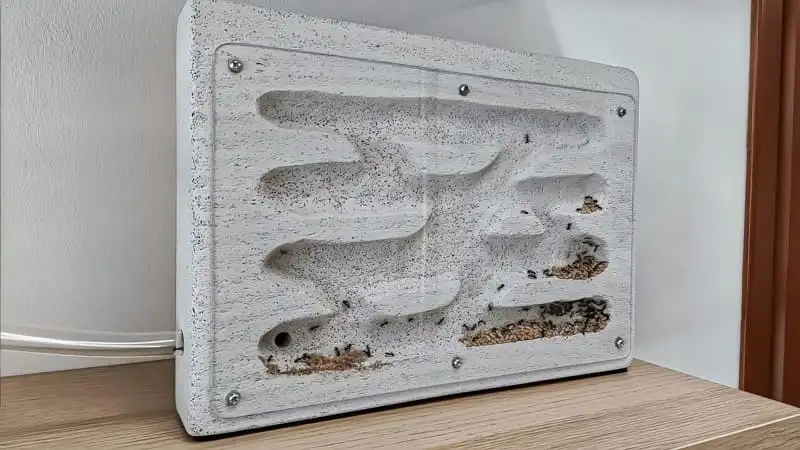
This cool and attractive type of ant nest is perfect if you're planning on keeping a very small species of ant, like Tetramorium caespitum or Pheidole pallidula, especially if you don't have much space to dedicate to larger and more complex ant-keeping setups!
Let’s see how we can build one of these!
What You Need
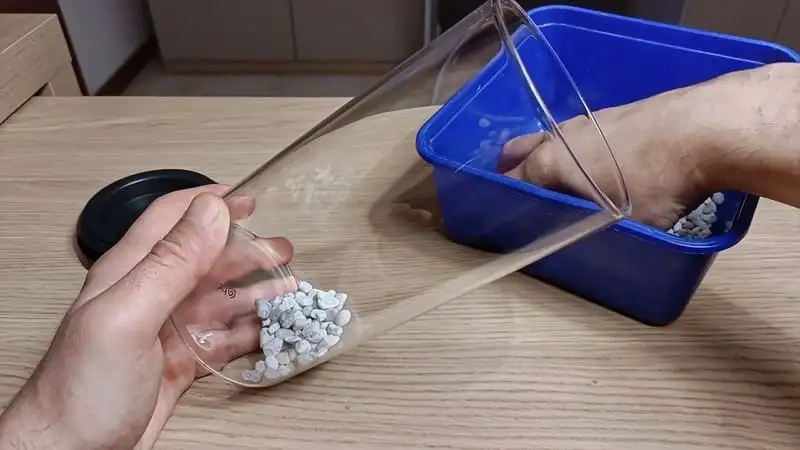
For this project, we’re going to need the following materials: a glass jar, some small stones for the drainage layer, a soft mesh, some dirt, a little tree branch, a bunch of moss, and some small plants.
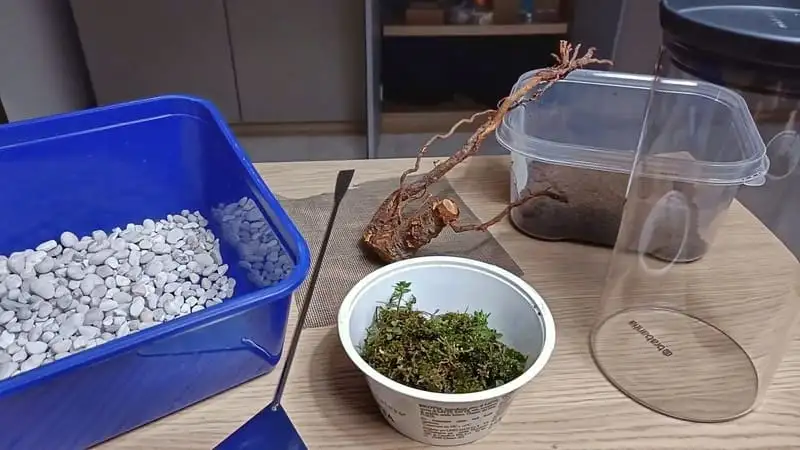
To facilitate the building process and easily reach the bottom of the jar, I’m also going to use the long tools that are usually used for aquascaping, the art of creating the beautiful natural landscapes you typically see in fish tanks.
The main component of the terrarium will be the glass jar. You can easily find one of these in almost every grocery store. If you have trouble finding the jar that fits your needs, you can also order it online from one of the many online shops.
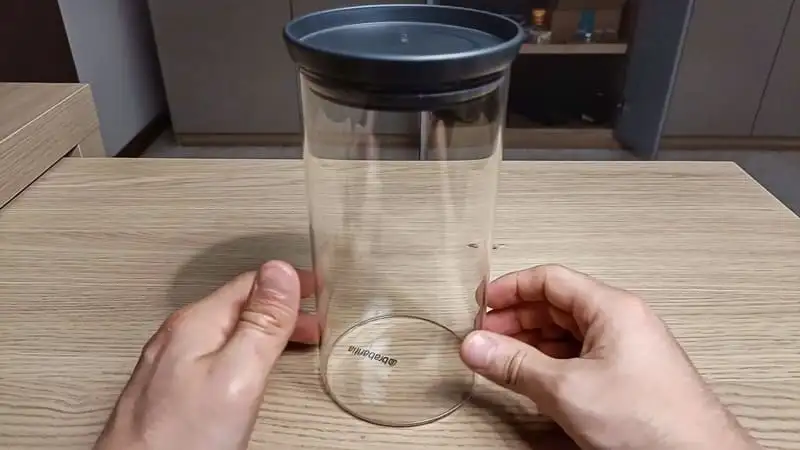
For the material, I would suggest you choose glass. However, if you don’t want to spend too much money or if you can’t find a glass jar that you really like, you can also opt for a plastic one.
Don’t worry if the jar doesn’t have ventilation holes because in this tutorial we’re going to build a closed terrarium.
Cutting The Mesh
First of all, we need to cut the soft mesh in order to make it fit tightly inside the jar. To draw the shape of the jar on the mesh, you can simply use a marker. Don’t worry if the marker leaves some marks on the jar; we will clean them later.
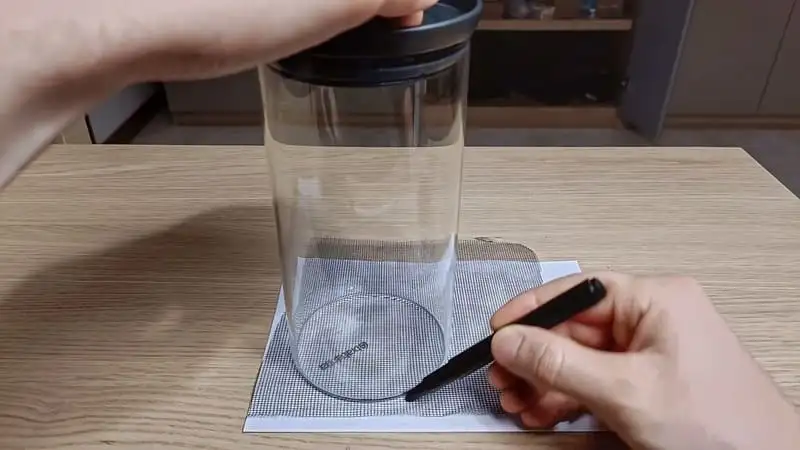
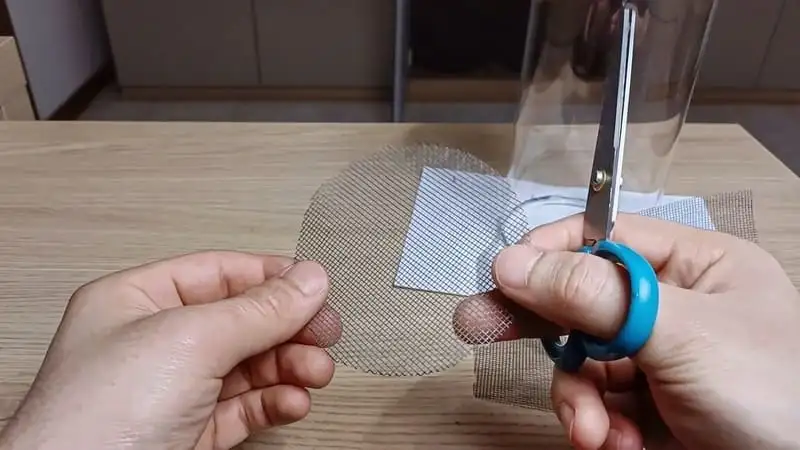
Once we clearly see the mark on the mesh, we can start cutting.
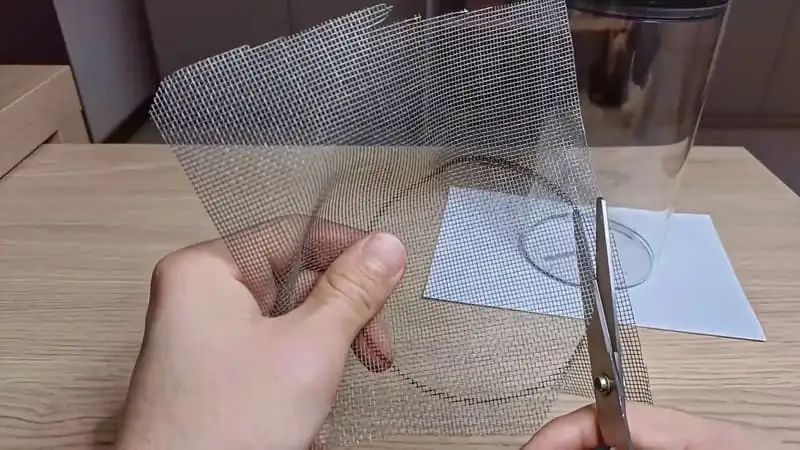
Here’s the result.
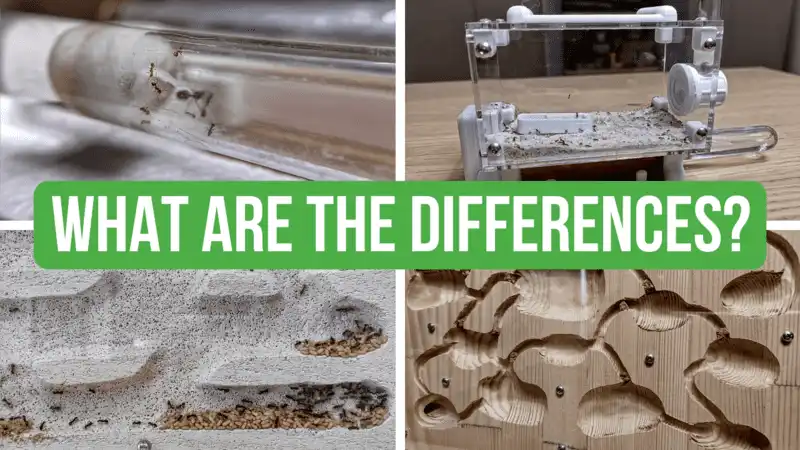
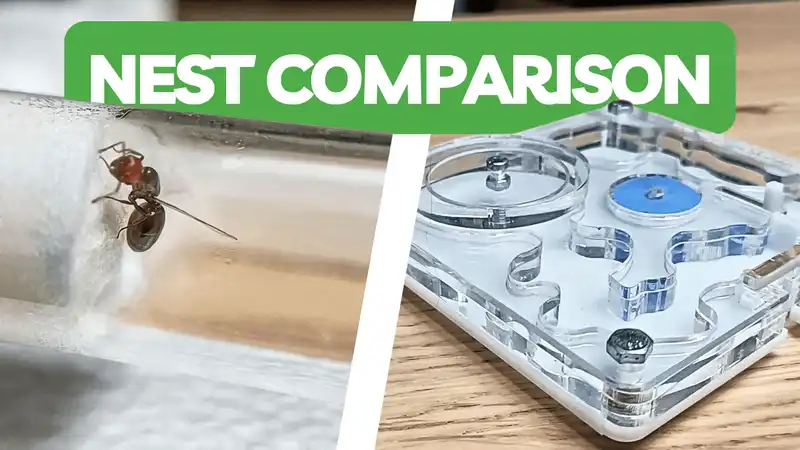
By the way… If you, like me, really enjoy these kinds of D.I.Y. projects, I’m pretty sure you’re going to love this other guide too! In this one, I explain in detail how to make another very popular type of ant nest: a wooden nest!
The Drainage Layer
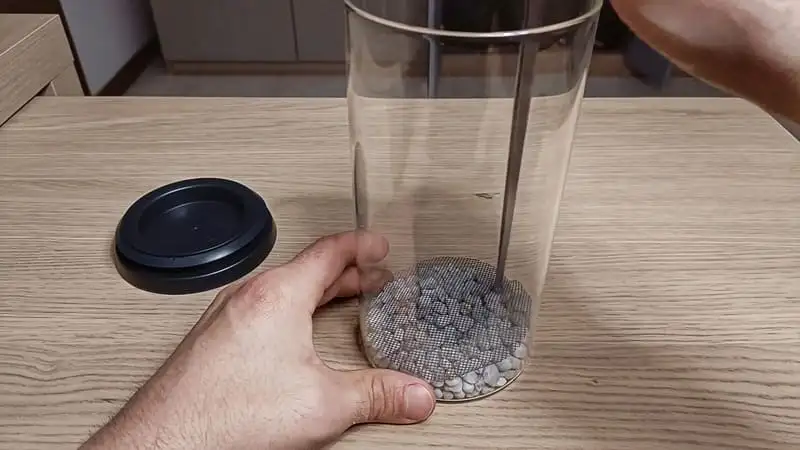
Now we can start creating the first layer of the terrarium: the drainage layer. This base layer is made of stones, and its role is to hold the water reservoir of the ecosystem.
To create the layer, simply place the little stones at the bottom of the jar.
When doing this, make sure to place the stones down very gently, using your hand to reach the bottom of the jar. We don’t want to break the jar by throwing the stones into it!
Now we can place the mesh we’ve cut before inside the jar. The mesh will separate the drainage layer from the dirt layer and will block the dirt from covering the stones.
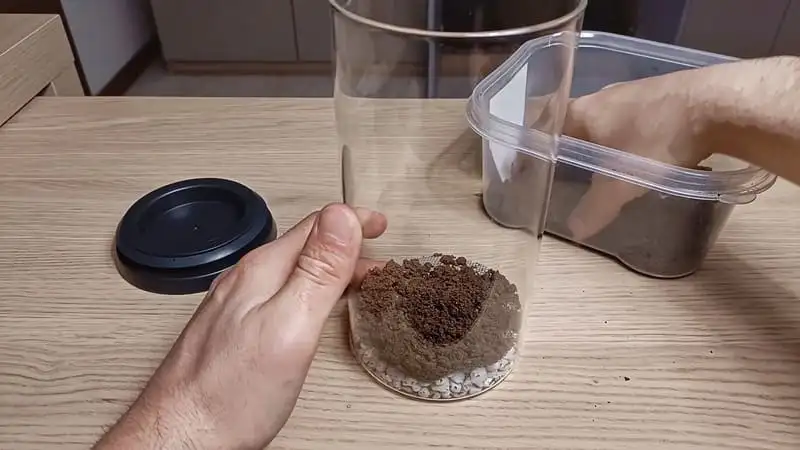
The Dirt Layer
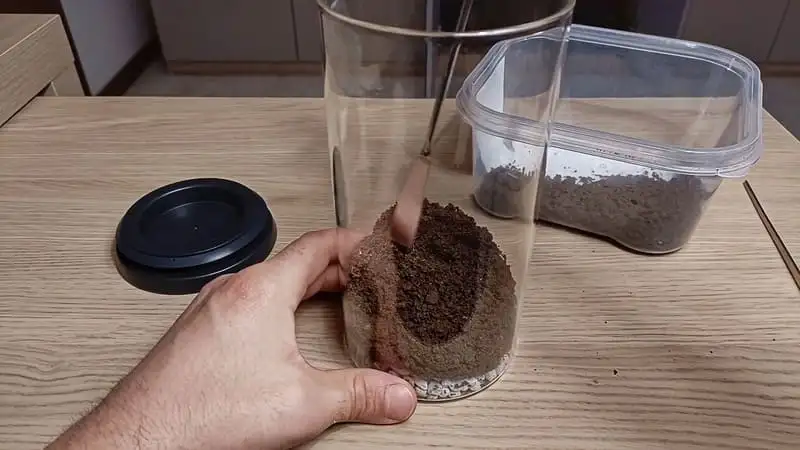
When the mesh is in place, we can start filling the jar with dirt. I would suggest using your hand in this step, as we don’t want the dirt to fall into the bottom layer.
When there is enough dirt in the jar, we can use a long tool to move some dirt to the rear of the jar. Doing this will facilitate the observation of the terrarium and will create a really cool-looking effect.
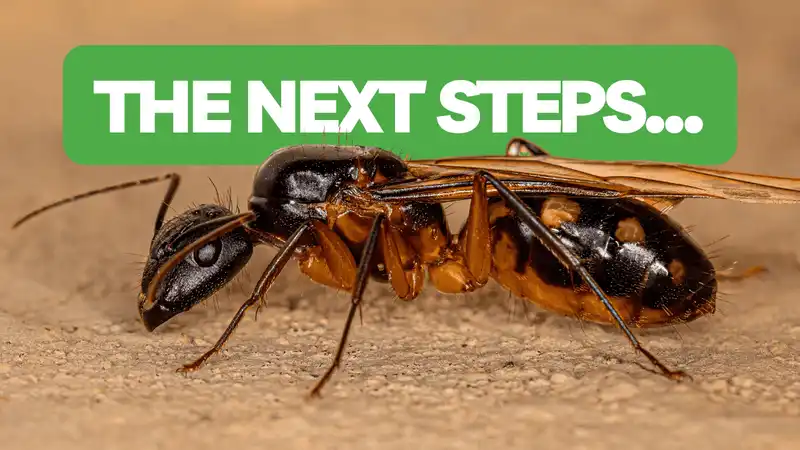
If you are a beginner and have no idea how to get your hands on an ant colony, I would suggest you check out this other guide! In this one, you will learn everything you need to know to catch your very first queen ant, the mother of all members of the colony!
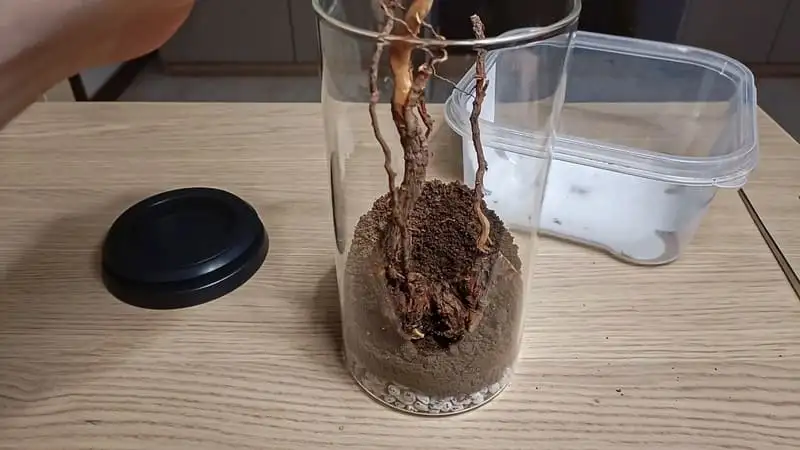
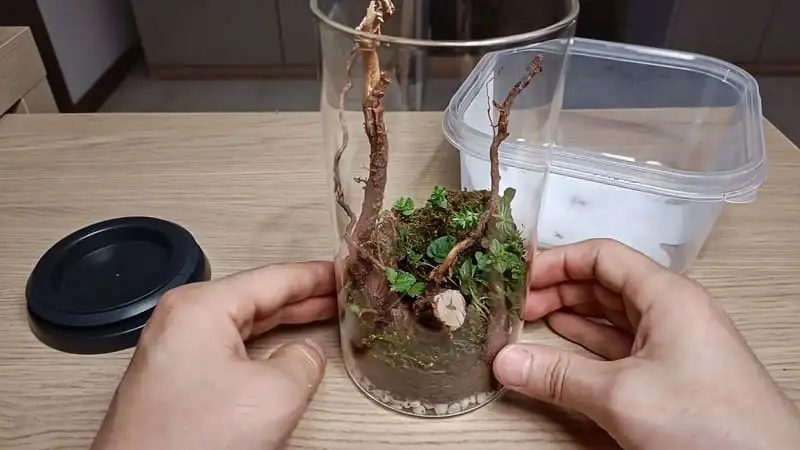
The Tree Branch and The Plants
When ready, insert the tree branch.
Now to the fun part! It’s time to fill the remaining spaces with the plants and moss we’ve collected before. This will take some time, but don’t worry: It’s a very relaxing activity!

Here’s the final result! Not bad!
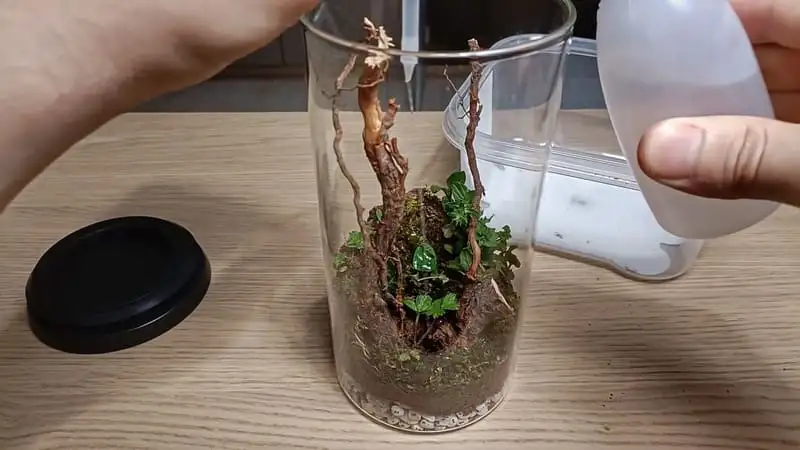
Watering The Terrarium
Now we have to water the terrarium. To do this, you can use a pipette or some other type of water dispenser, like the one I’m using.
In the very likely case that some of the water has ended up on the jar, we can clean the inside surface with a long tweezer and some tissue paper.
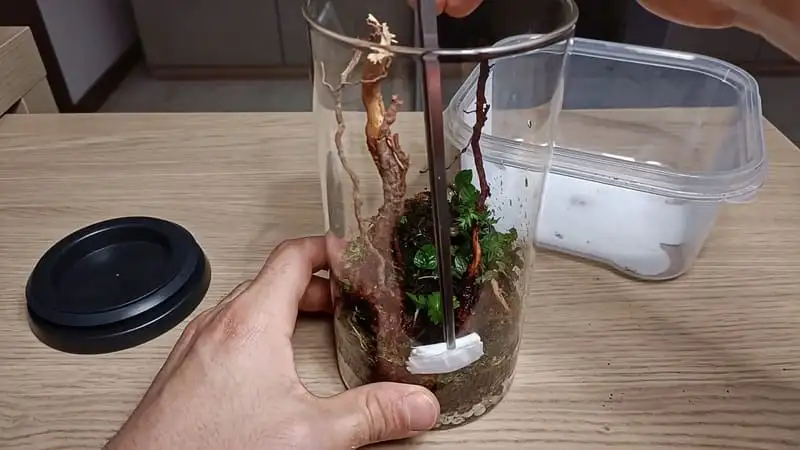
Make sure to clean all the inside surfaces!
The Final Result!
Congratulations! You’ve successfully built a really cool jar terrarium all by yourself!
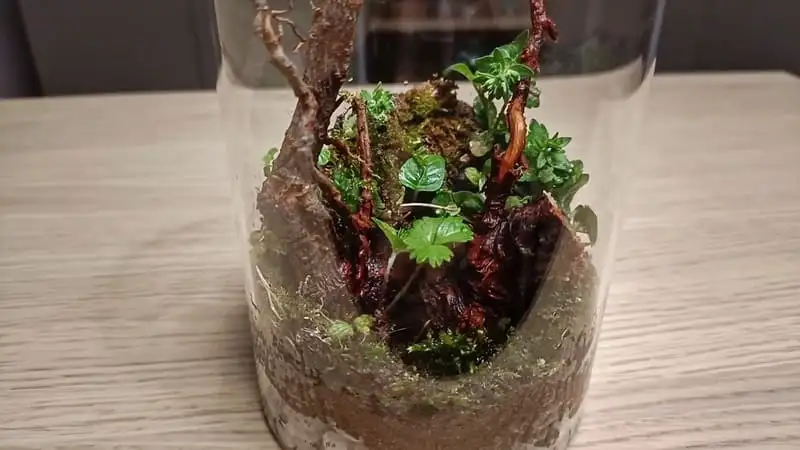
Now you can place it on a shelf or on your bedside table; it will look amazing!
I hope you have found this guide helpful!
If you liked this tutorial and love making DIY projects, I would strongly suggest you check out this other tutorial! In this one, you will learn how to build a Ytong nest all by yourself!
FAQs
You need a glass jar, small stones for the drainage layer, a soft mesh, dirt, a tree branch, moss, and small plants.
Place small stones at the bottom of the jar gently to form the drainage layer.
Yes, a plastic jar is an option if you prefer to avoid spending too much or if you can't find a glass jar.
You can use a pipette or another type of water dispenser to water the terrarium.
Yes, make sure to clean all inside surfaces after watering to maintain a clear view of your terrarium.

Author