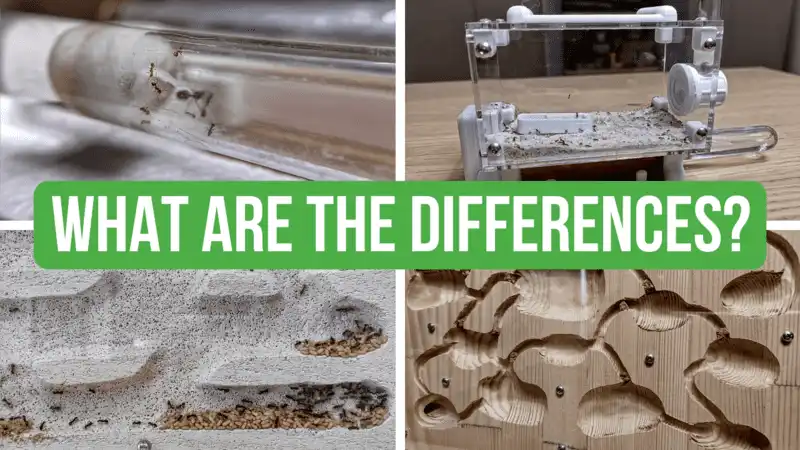
How To Make a Tube Spiral For Your Ants
Hi guys! I hope you’re doing well!
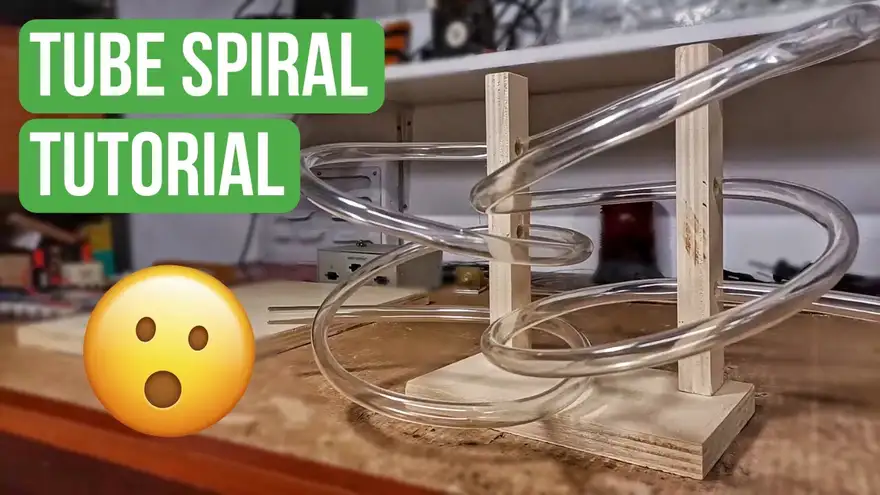
Today we’re going to build this long tube spiral, a really cool add-on for our ant nests!

Let’s see how to build it!
The Antstore Ant Spiral Tower
The other day, I was surfing the web in search of some cool nest ideas and, as always, I landed on the Antstore online shop website. Under the section “Our New Products,” I stumbled upon a very cool and unusual nest connector.
That peculiar tube connector is called “Ant Spiral Tower.” In a nutshell, it’s a very long acrylic tube wrapped around itself, creating a sort of tower-like structure.
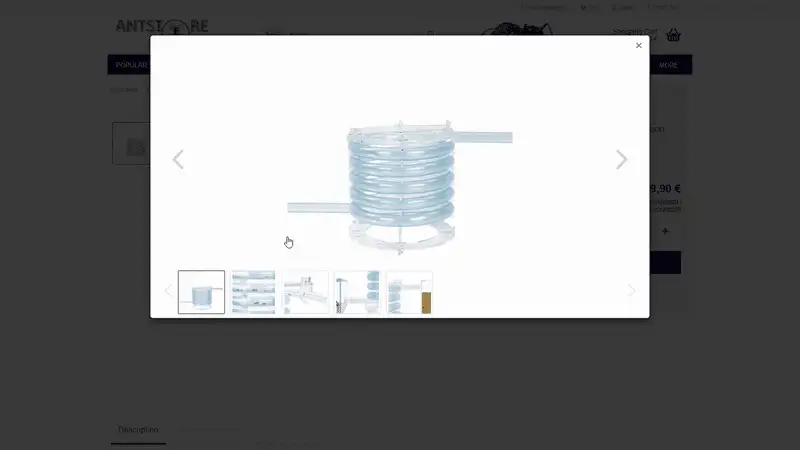
The tower is used to connect an ant nest to an outworld. Instead of using a simple piece of tubing that merely goes from the nest to the outworld, the tower creates a long route on which the ants can travel.
I find this product very cool!
This company is very popular in the ant-keeping space for making extremely high-quality products, like ant nests, outworlds, and various types of accessories. If you're interested in finding out more about this company, I would suggest you check out this product review!
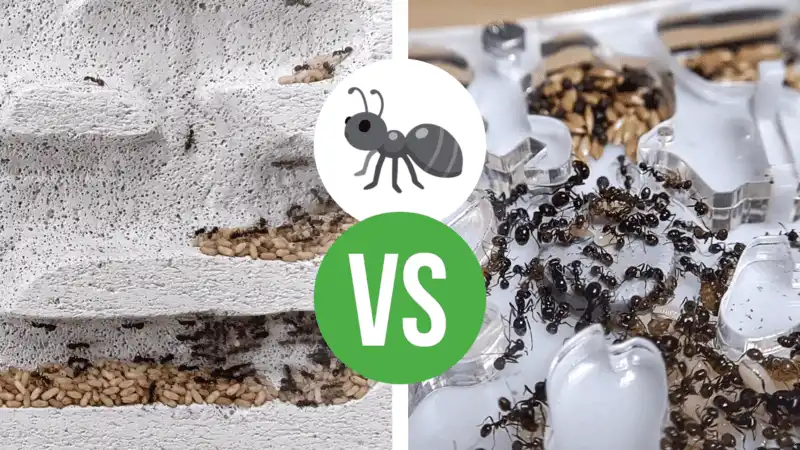
This is the review of one of the most popular nests from this company! This amazing-looking glass nest swiftly merges an outworld and a nest, creating a fantastic all-in-one ant-keeping product!
But what if we don’t want to buy the ant spiral from Antstore because we’re on a budget or because the store doesn’t ship to our country?
Let’s build our own version!
What You Need
For this project, we need a very long tube, some pieces of wood, a few screws, and some basic tools!
The main piece of the spiral will be the flexible transparent acrylic tube. You can easily find one of these in every hardware store, online, or in a normal shop in the gardening section.
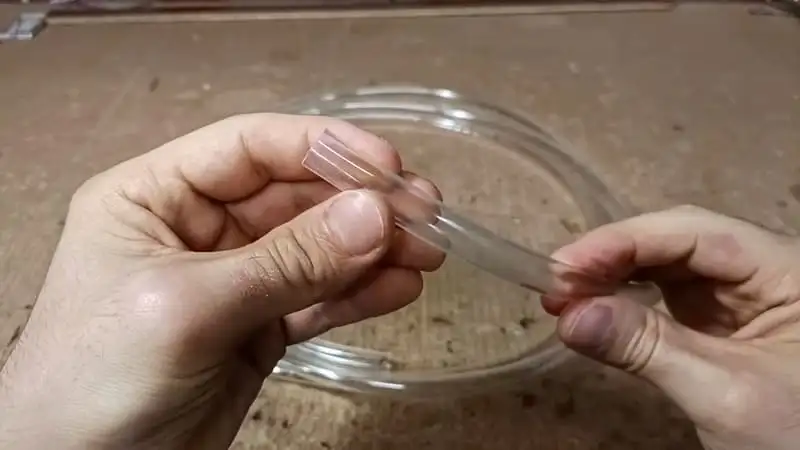
For this project, I’ve chosen a 3m long tube, with an internal diameter of 10mm and an external diameter of 12mm.
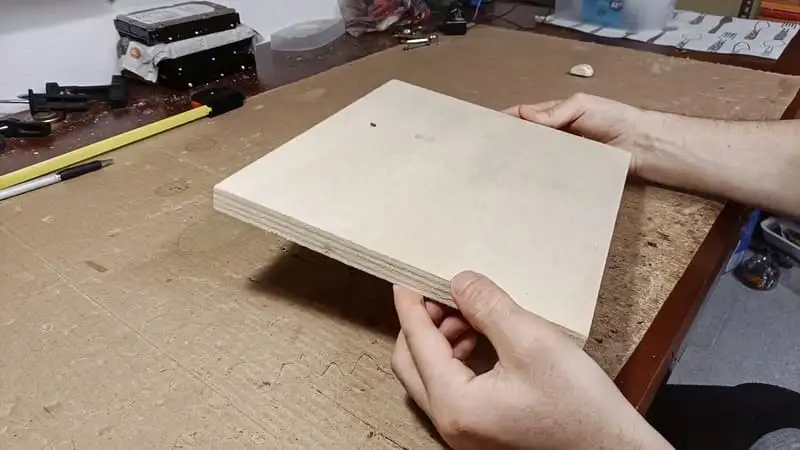
The second piece that we need for the spiral is a wooden panel. Like the tube, you can easily find these in a normal hardware shop.
By the way... If you, just like me, really like these kinds of D.I.Y. projects, I'm pretty sure you're going to love this other guide too! In this one, I explain in detail how to make an extremely popular type of ant nest: a Ytong nest!
Making The Two Towers
The first thing we have to do is decide the size of the spiral. This particular version will have two towers, with the tube passing through one another.
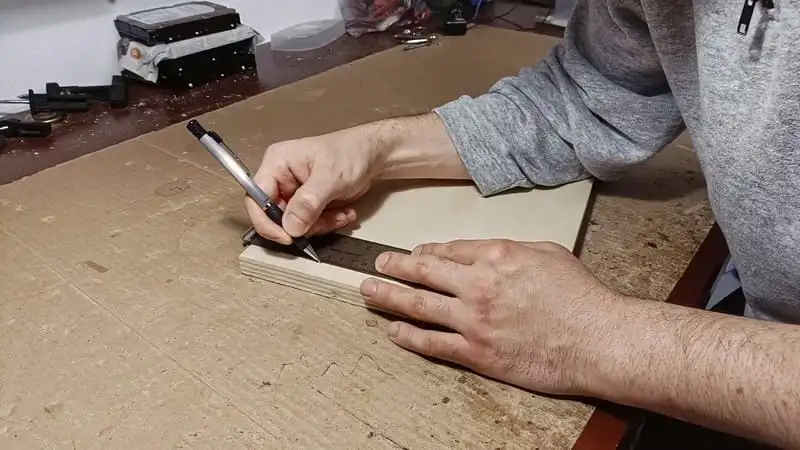
After we have marked the wooden panel with the shape of the towers, we can start cutting.
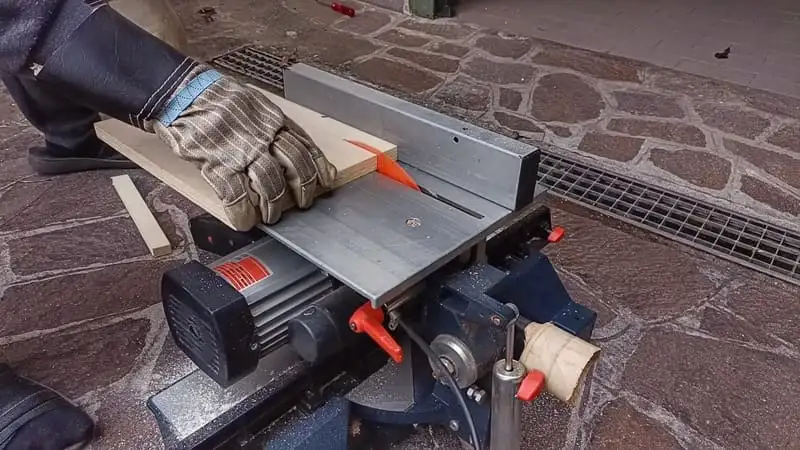
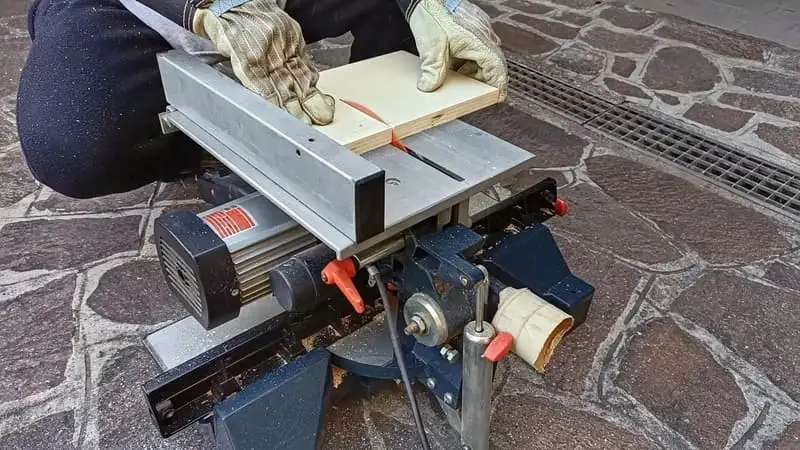
As you can see, I’m using a circular saw to cut the pieces. Alternatively, if you don’t have one of these, you can simply use a jigsaw.
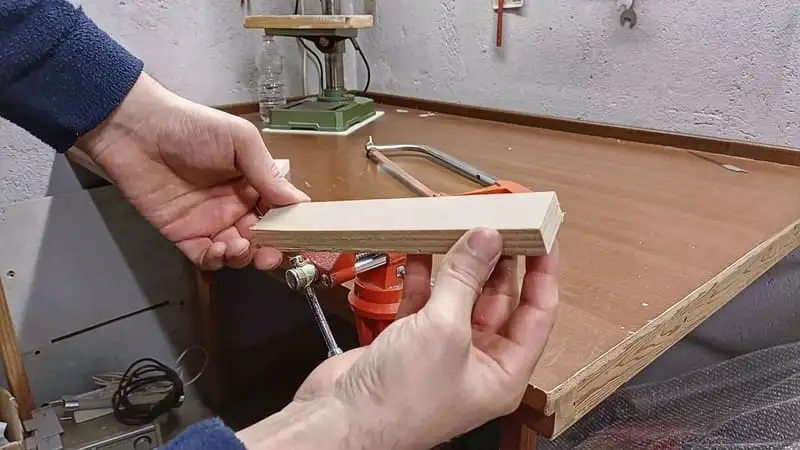
Once we have the two pieces, we can then mark them with our preferred height. In my case, I’ve chosen to make the two towers 20cm high.
This time, because the cut is a lot easier to make, we can simply use a standard wood saw.
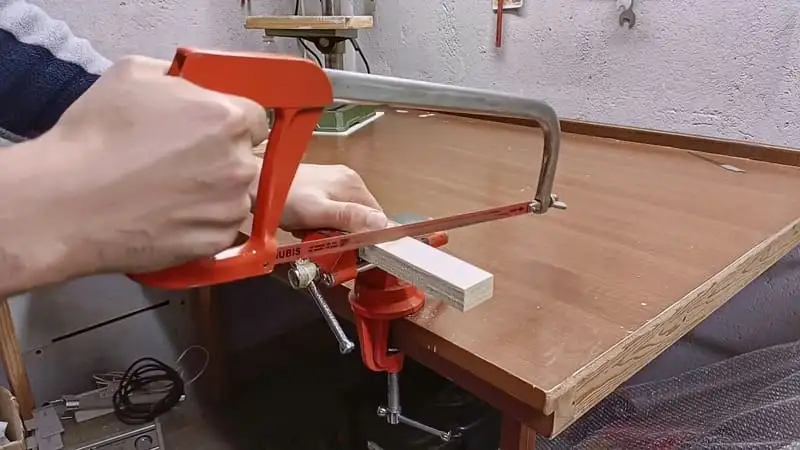
Make sure to secure the piece of wood to the table with some type of clamp; it makes it a lot easier to cut and a lot less dangerous for our hands!
Here’s the piece.
If you want, you can clean the two pieces a bit using some sandpaper.
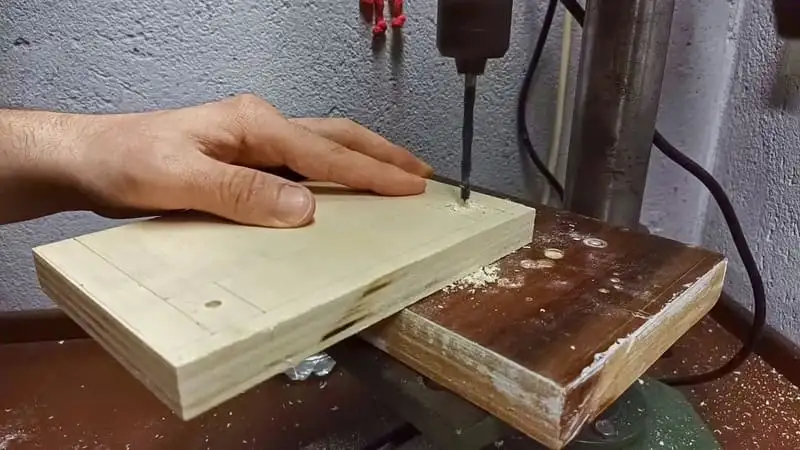
Drilling The Holes
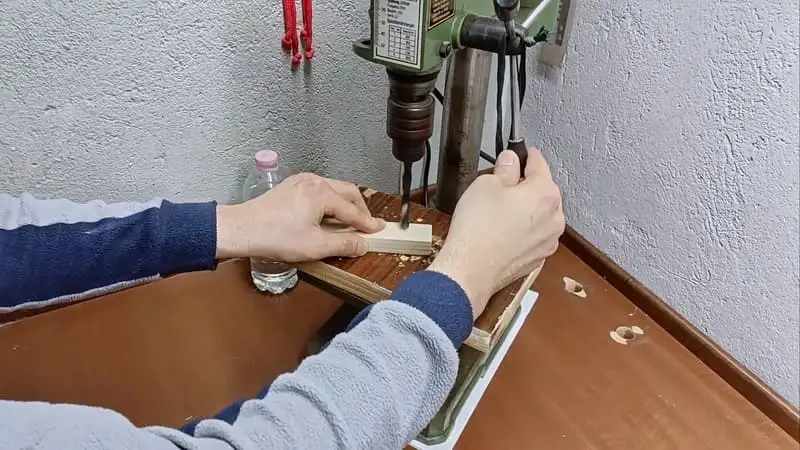
Now it's time to mark the spots where we’re going to make the holes, through which the tube will pass.
You can make the holes using a normal drill with a wood bit. The diameter of the holes needs to match the outer diameter of the tube that we have chosen to use for this project.
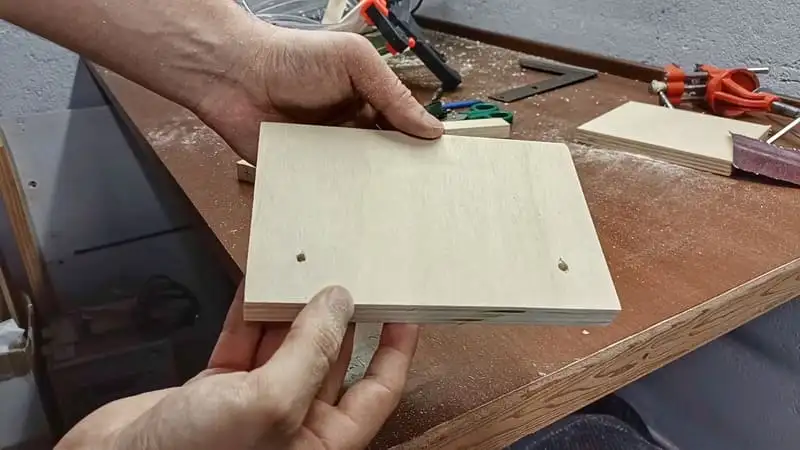
Here’s the result.
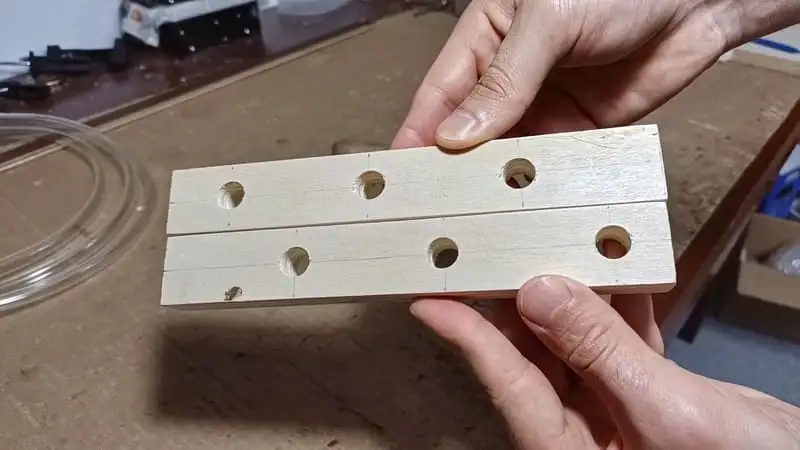
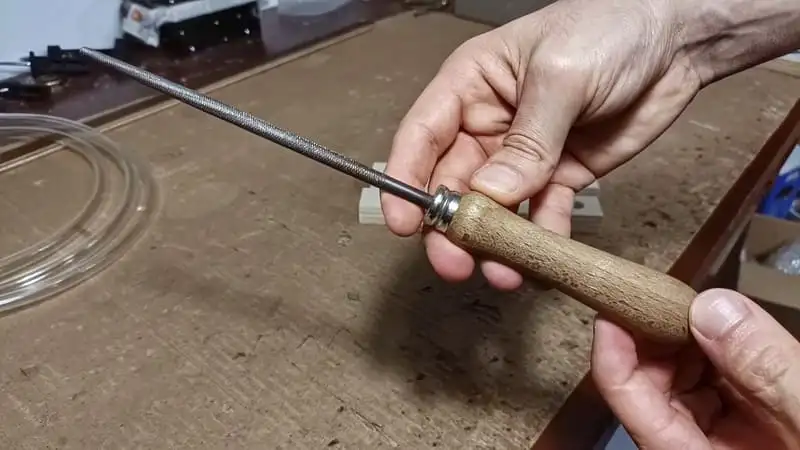
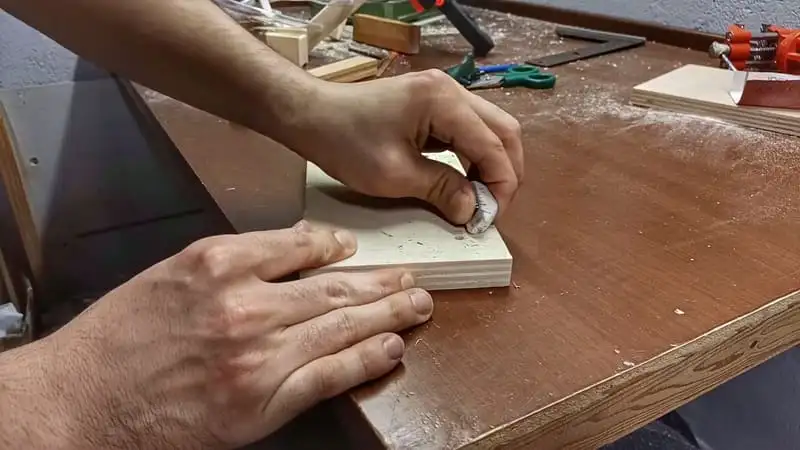
To remove the little imperfections caused by the wood bit, we can use a rounded file. Doing this will facilitate the tedious process of inserting the tube into the holes.
Inserting The Tube
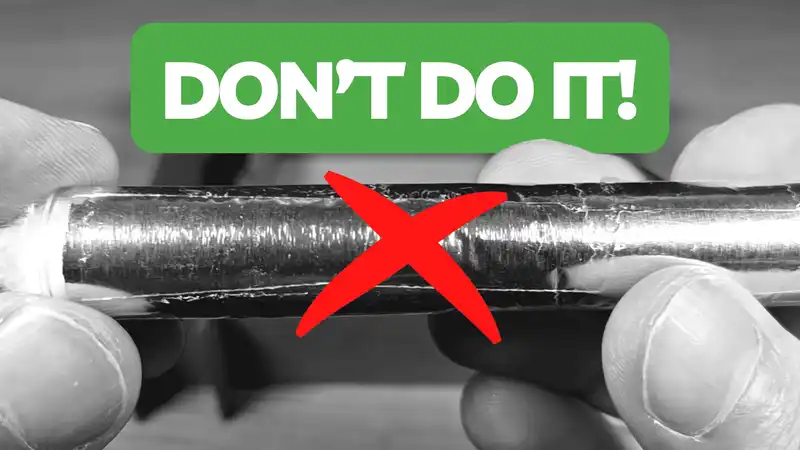
After we’ve cleaned all the holes, we can then start inserting the tubes through the holes.
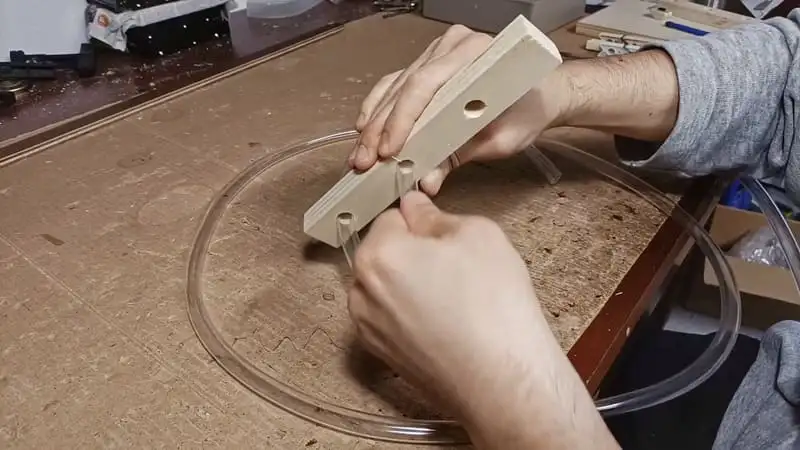
If you find it hard to slide the tube through the holes, don’t worry. The holes should be a tight fit with the tube in order to ensure it stays in place and doesn't involuntarily slide out once the project is finished.
To make it slide, simply push the tube very slowly, one inch at a time.
Here’s how it should look after we’ve finished inserting the tube. Not bad at all!
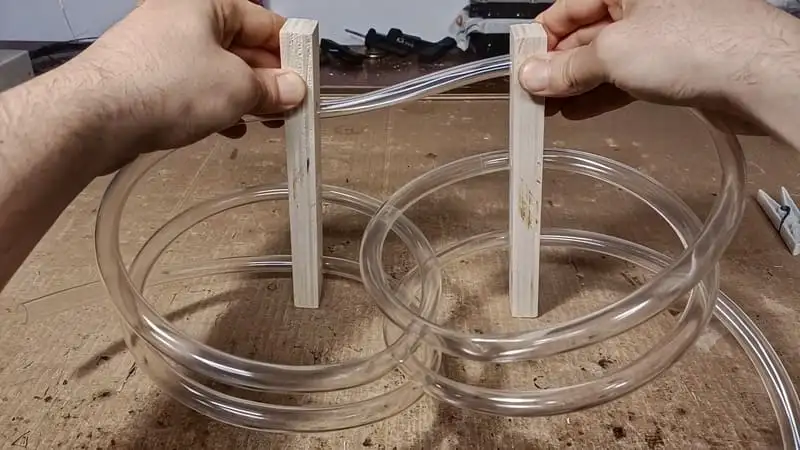
Now to the base!
Making The Base
When the spiral is almost finished and we have the final dimensions, we can start making the base on which the spiral will stand.
After we have taken the needed measurements, we can cut it as previously.
Here’s the base.

Now it's time to choose the screws that we’re going to use to attach the two towers to the base. Make sure that the screw is long enough to pass through the base and grab the towers!
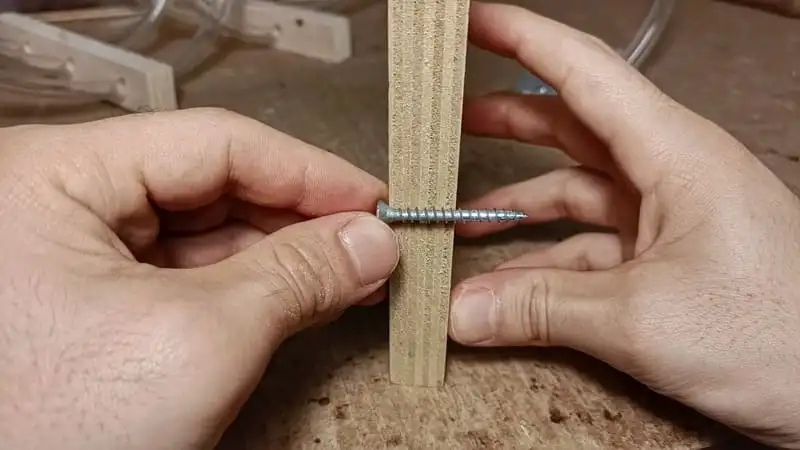
After that, choose the appropriate drill bit and drill the holes in the base.
Once we’ve made the holes in the base, it’s time to clean it.
First, we have to remove all the pencil marks we’ve made in the previous steps. After that, we can then proceed to clean the small imperfections by using some sandpaper.
Perfect!
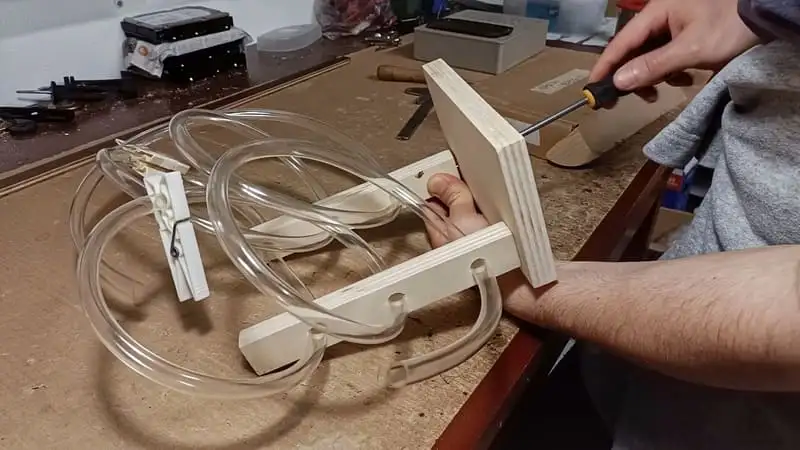
Attaching The Towers To The Base
Now to the final step! Attaching the towers to the base!
During this phase, try to screw the screws all the way in to make the tower as stable as possible.
The Final Result!
Congratulations! You have built an amazing tube spiral! Now you can connect the nest to the outworld with style!

Now you can use it with one of your ant colonies!

I hope you have found this tutorial helpful!
If you liked this tutorial and you love making DIY projects, I would strongly suggest you check out this other tutorial! In this one, you will learn how to make a very cool jar terrarium!
FAQs
You will need a long flexible transparent acrylic tube, a wooden panel, screws, and some basic tools.
Decide on the height and structure of the towers for the spiral, then cut the wooden panel accordingly.
You'll need tools like a circular saw or jigsaw, a drill with wood bits, clamps, and sandpaper.
Make sure the holes for the tube are a tight fit to prevent it from sliding out once the project is finished.
While wood is suggested, you could use other sturdy materials, but ensure they can hold the structure securely.

Author